Set up Credentials in AppAmbit
Now that you have successfully obtained your provider credentials (FCM for Android or APNs for iOS), you can connect them to AppAmbit.
This step is required to enable secure and validated push notification delivery to your users.
Before You Begin
Make sure you understand the following:
OS and Providers
- Android Apps → must upload the Firebase Service Account JSON file obtained from the FCM setup.
- iOS Apps → must upload the APNs authentication key (.p8), Key ID, and Team ID.
AppAmbit automatically handles validation, storage, and usage of these credentials using best-in-class security standards.
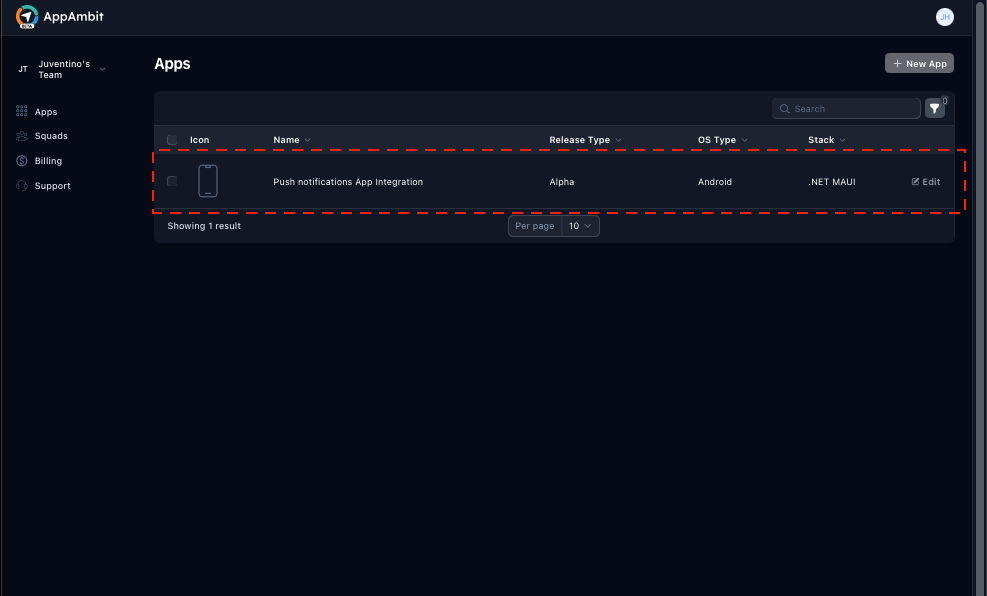
Step 1: Select Your App in AppAmbit Dashboard
- Open your AppAmbit Dashboard.
- Navigate to the list of your applications.
- Click on the app where you want to enable push notifications.
This action opens the App Info view of your selected application.

Step 2: Open the Edit App Section
In the App Info view:
- Locate the
Editbutton in the top-right corner. - Click it to enter the editable configuration of your application.

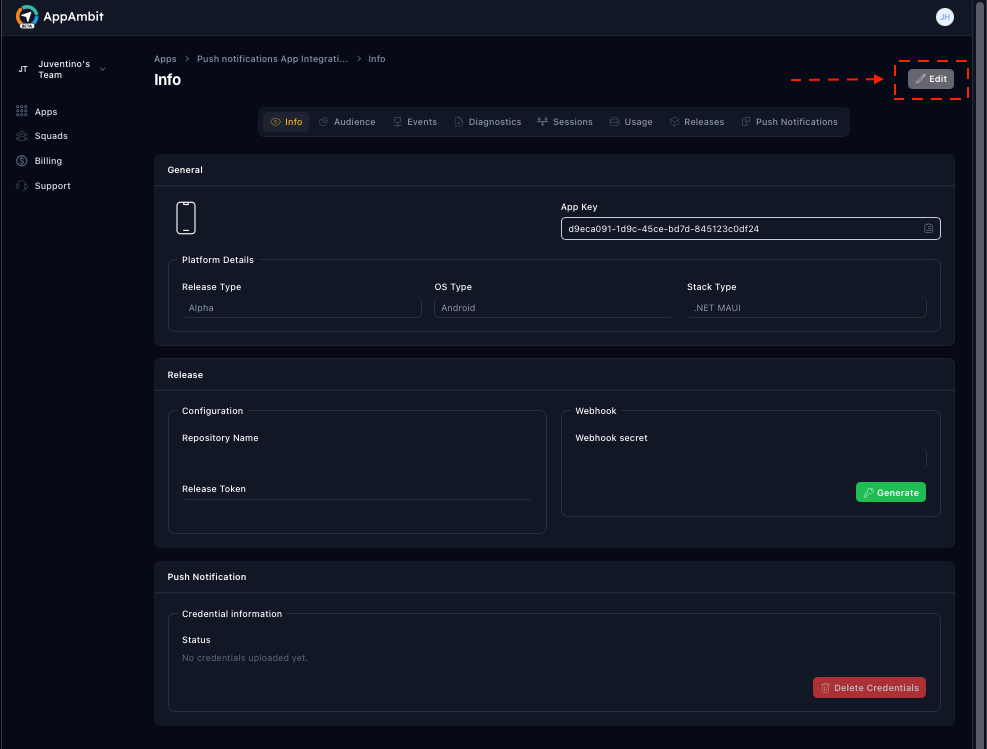
You will now be redirected to the Edit App page.
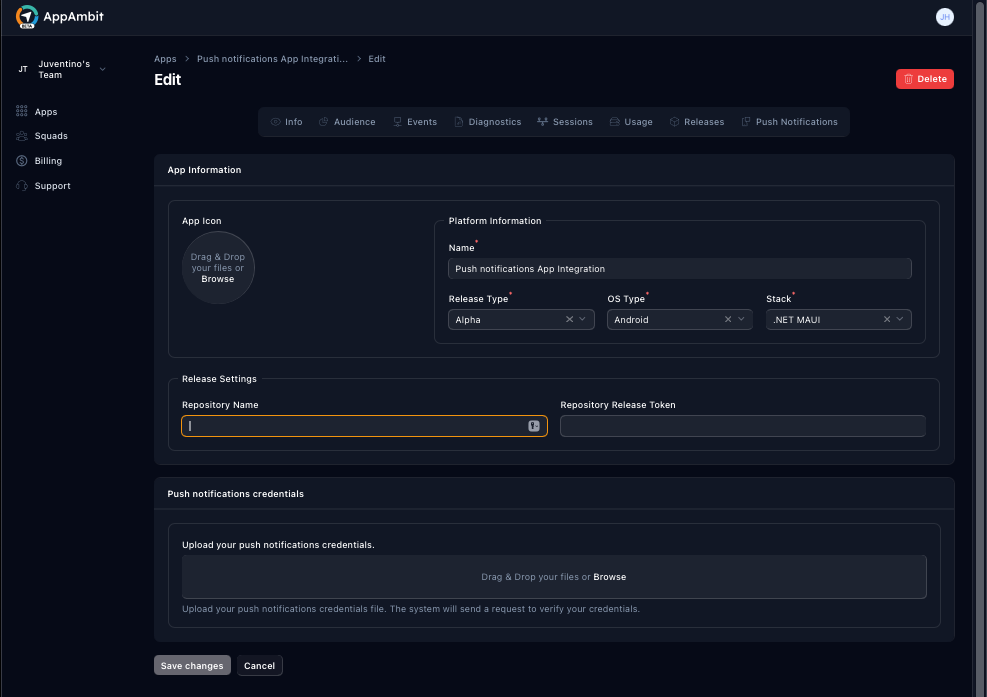
Select your platform to see the specific requirements:
For Android applications, you simply need to upload the Service Account JSON file.
- Click on the upload area to select the file from your computer.
- Drag and drop your
.jsonfile directly into the box.
For iOS applications, you must provide the Authentication Key and its associated identifiers.
- APNs Auth Key (.p8): Upload the
.p8file you downloaded from Apple. - Key ID: Enter the 10-character Key ID associated with the
.p8file. - Team ID: Enter your 10-character Apple Team ID.
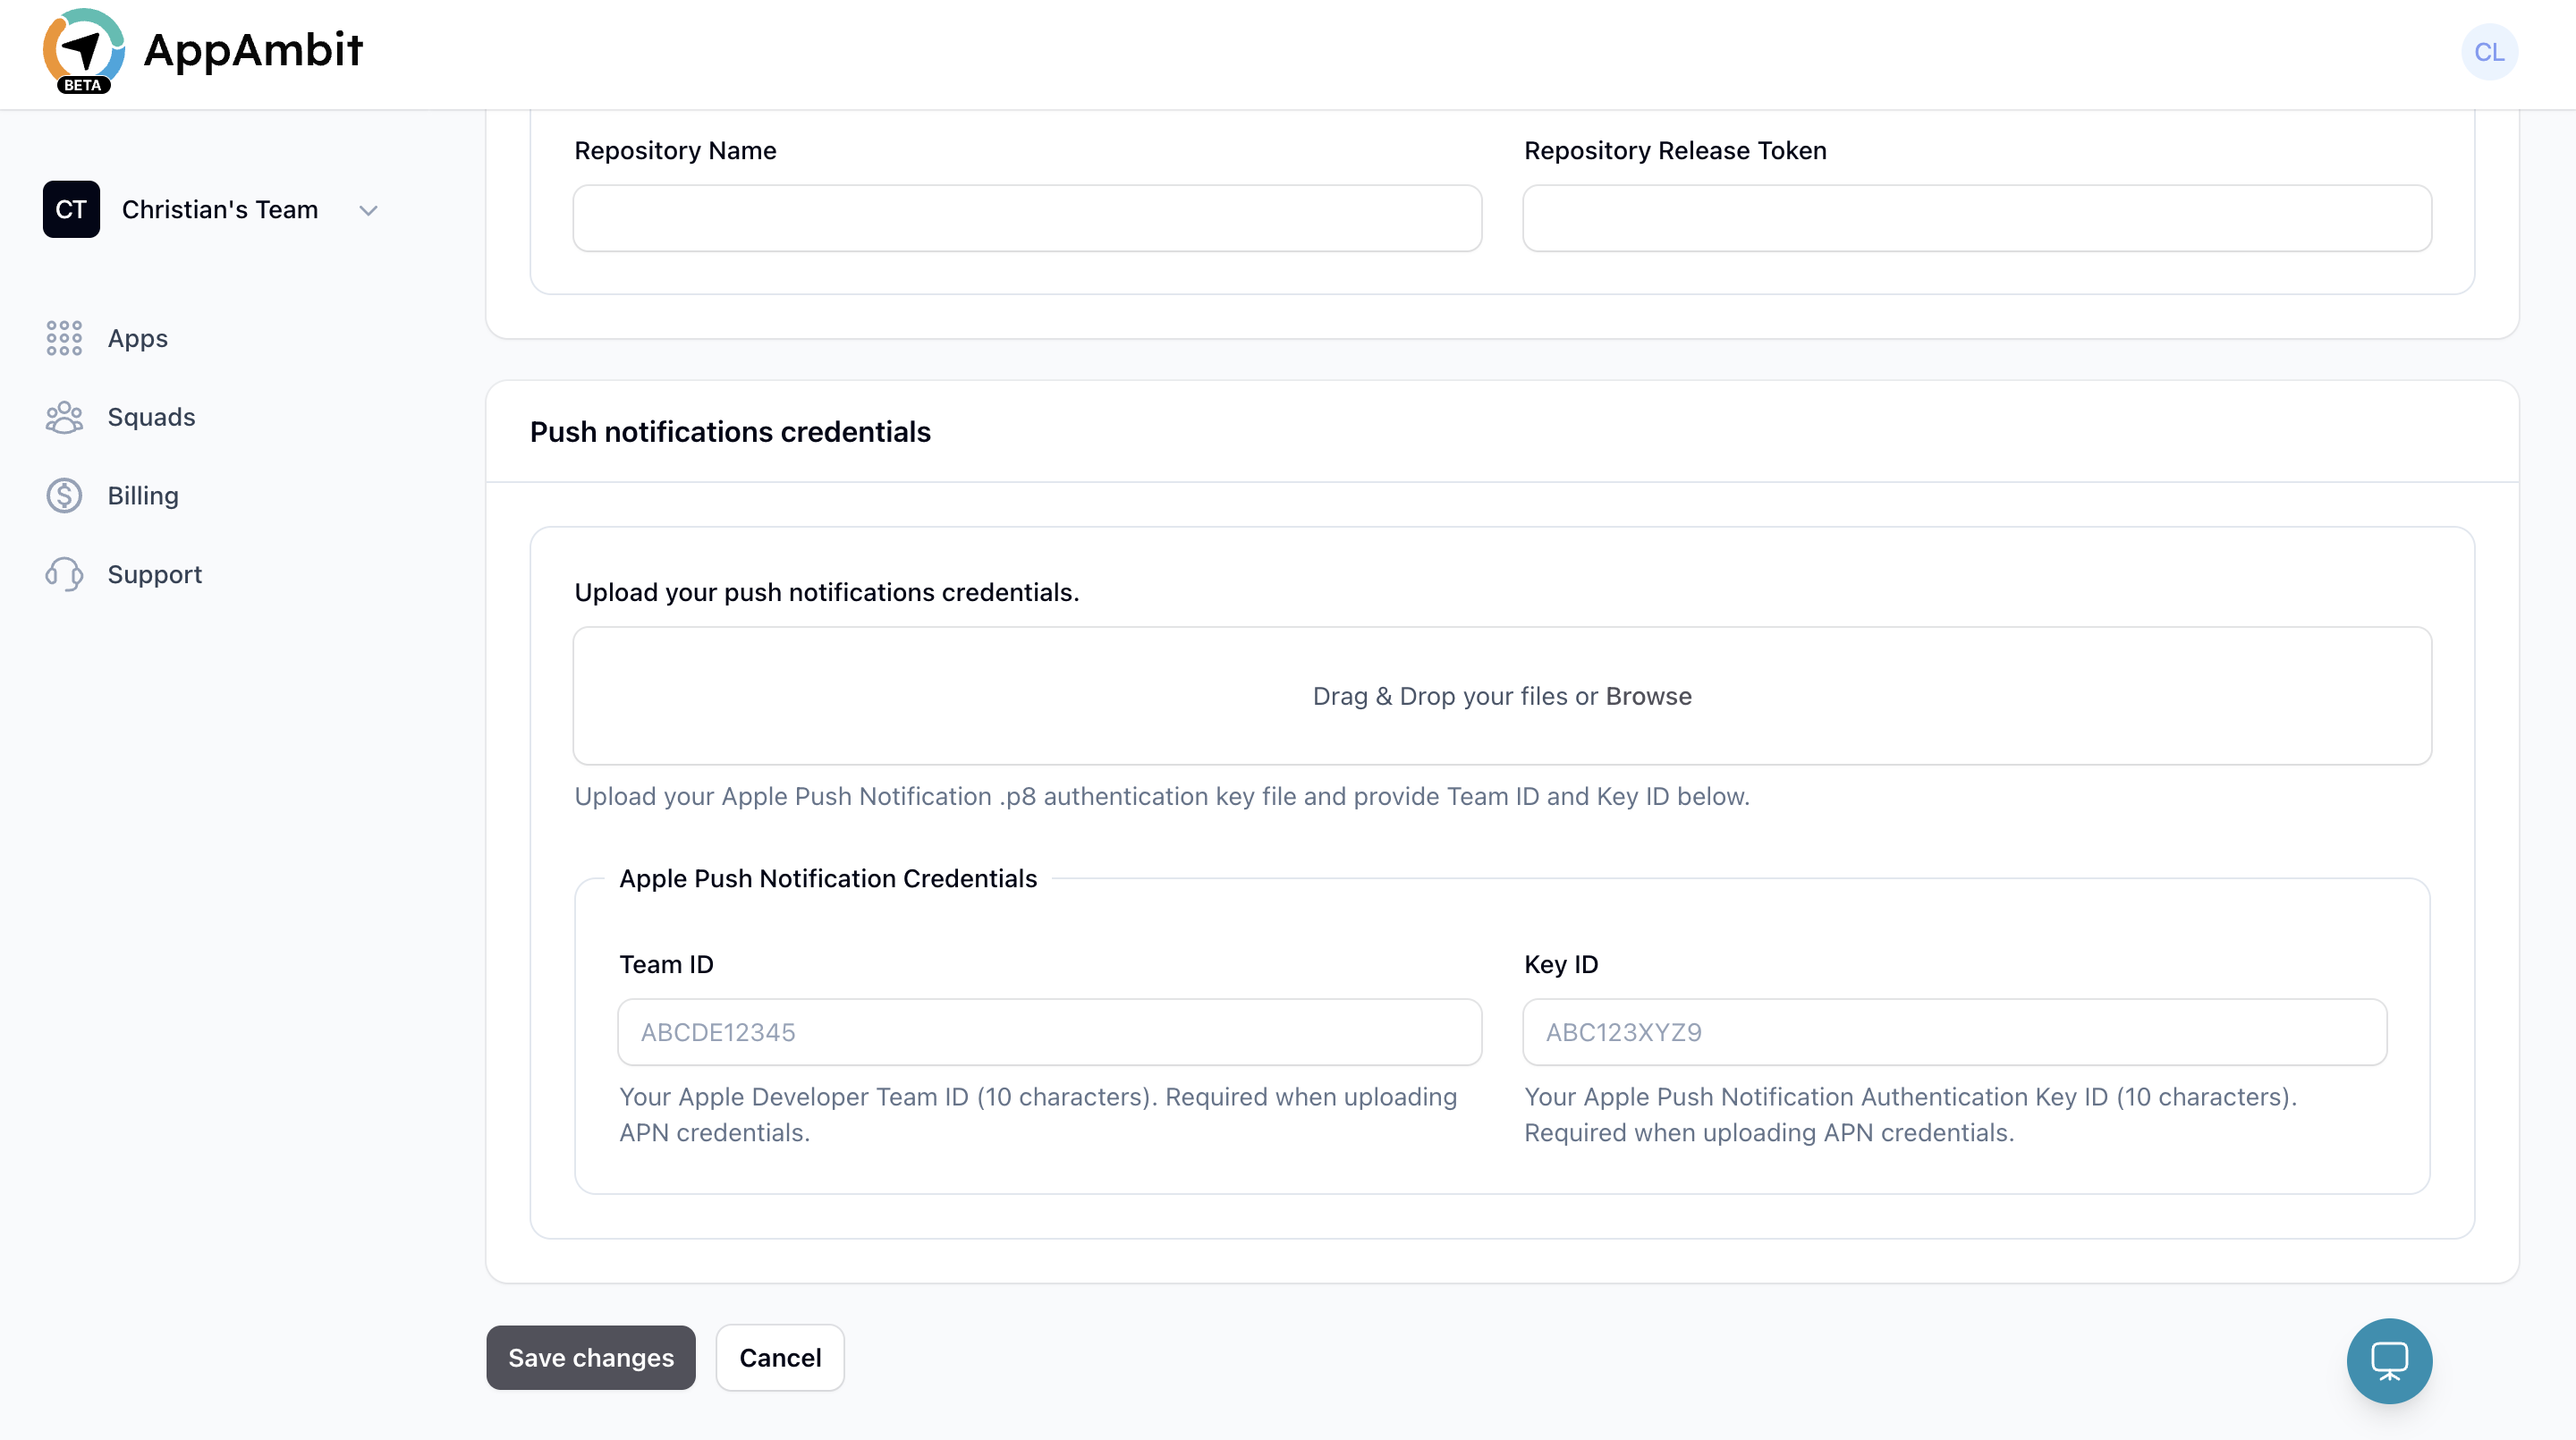
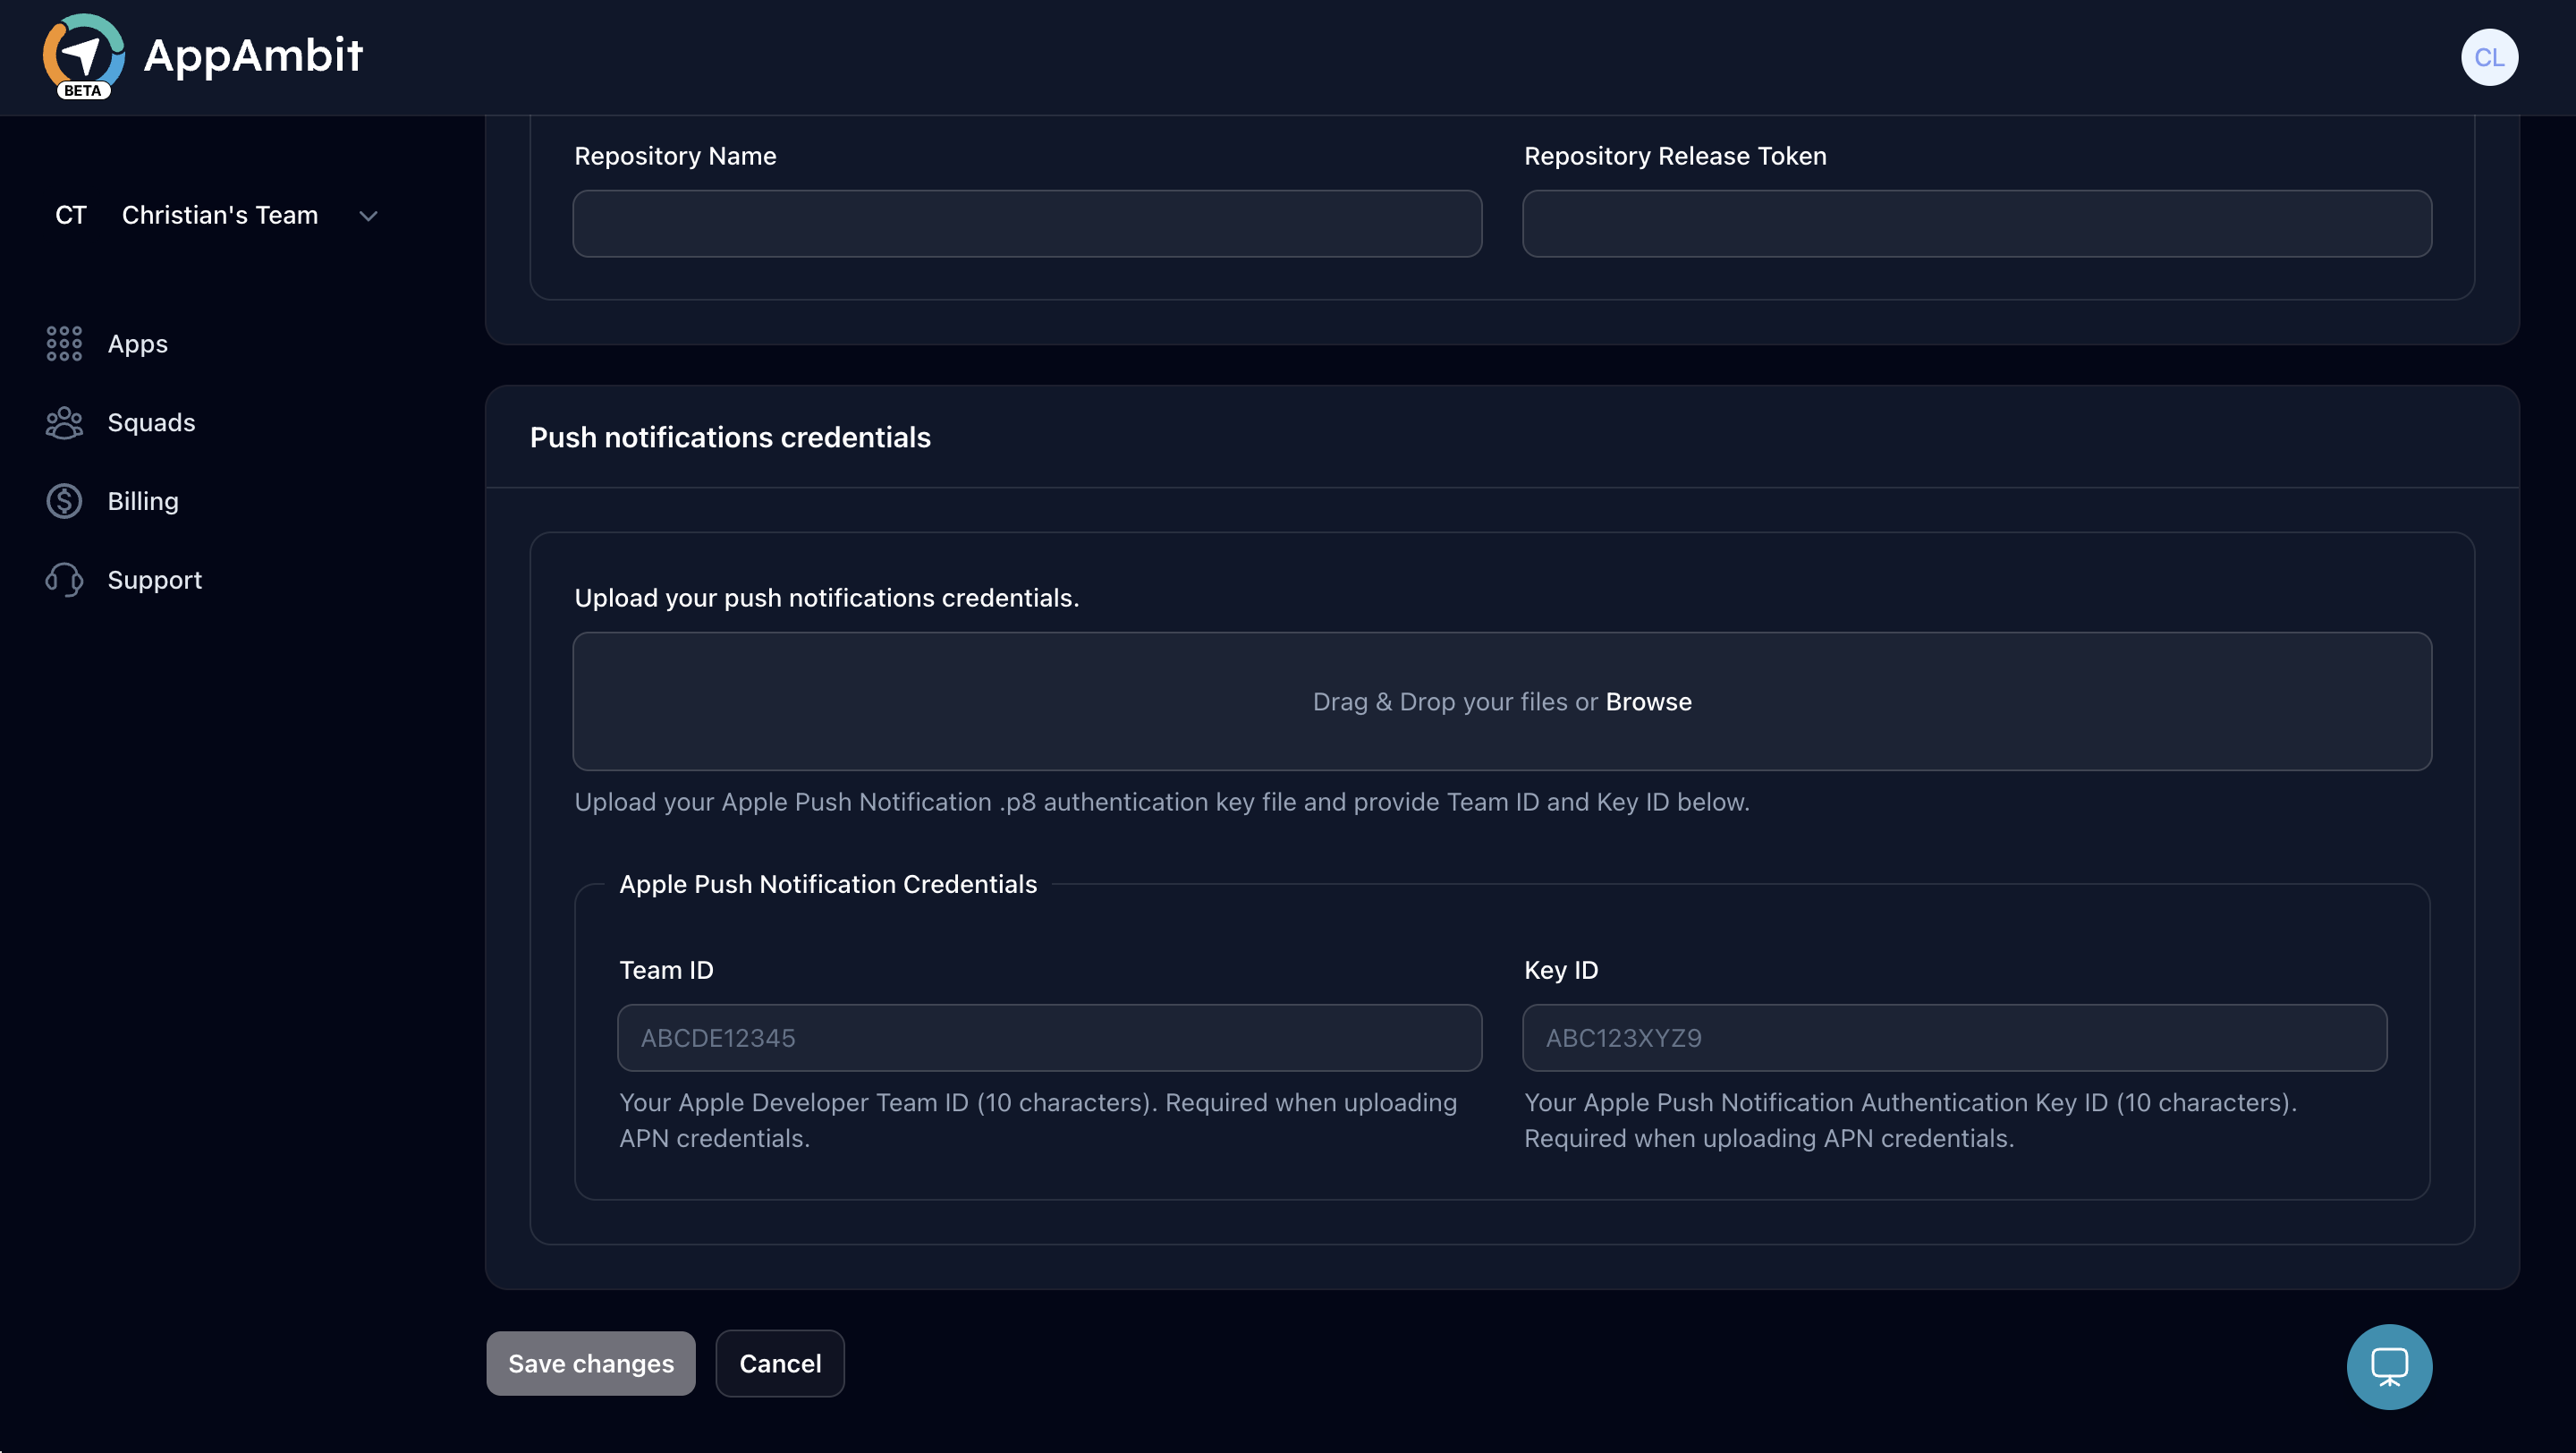
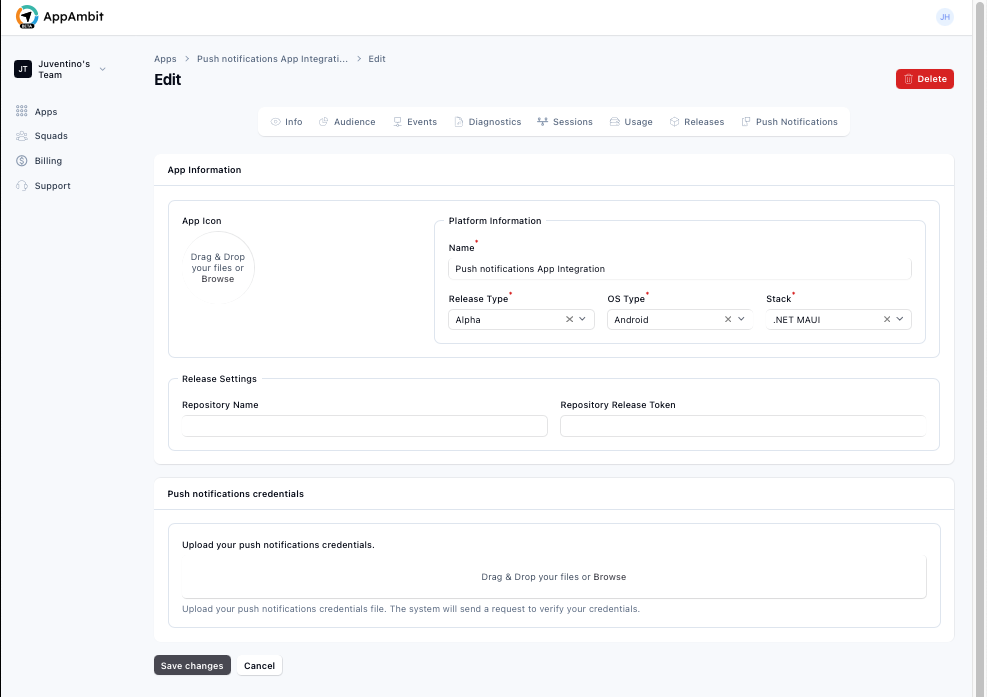
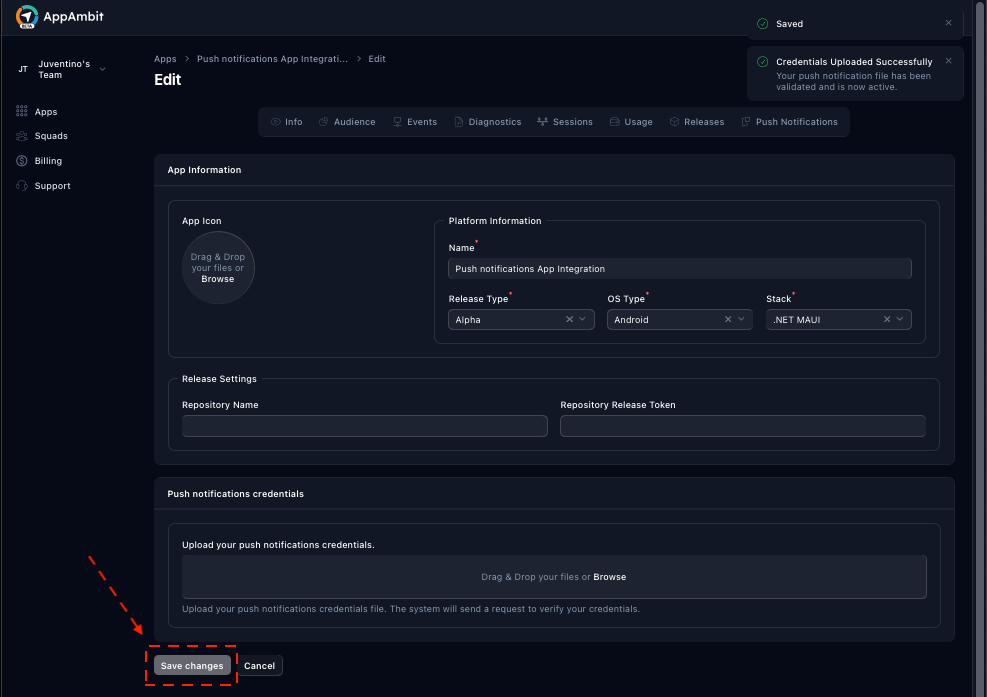
Step 3: Upload Your Push Provider Credentials
Scroll to the bottom of the Edit App page.
You will find a section labeled:
Push Notifications Credentials
This component allows you to upload your provider’s credential file:
- Click on the upload area to select the file from your computer
- Drag and drop your
.jsonfile (FCM) or.p8key file (APNs) directly into the box.
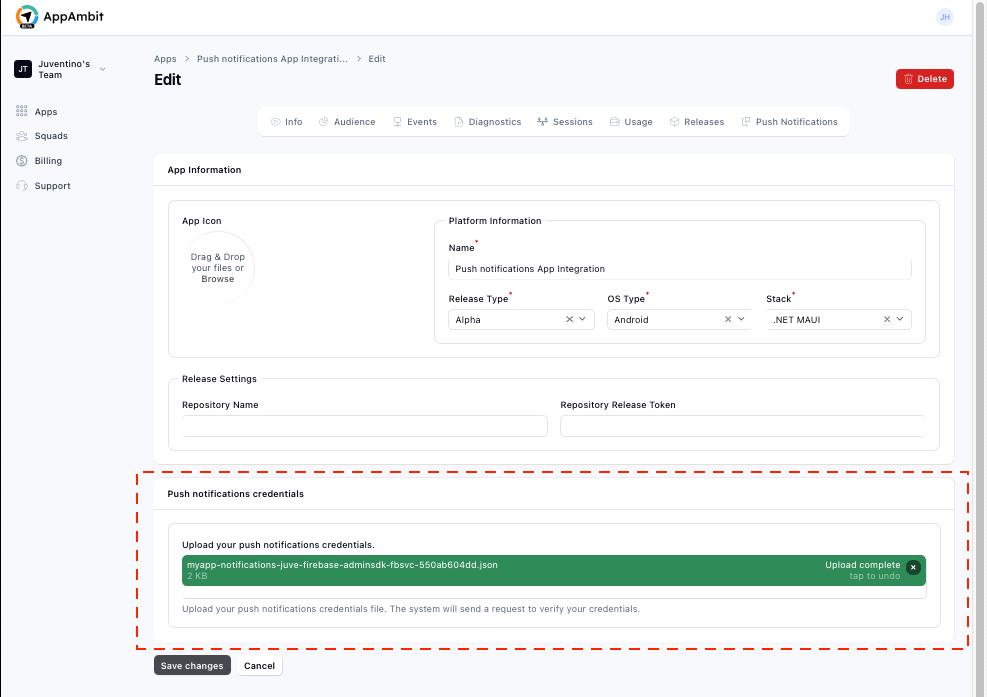
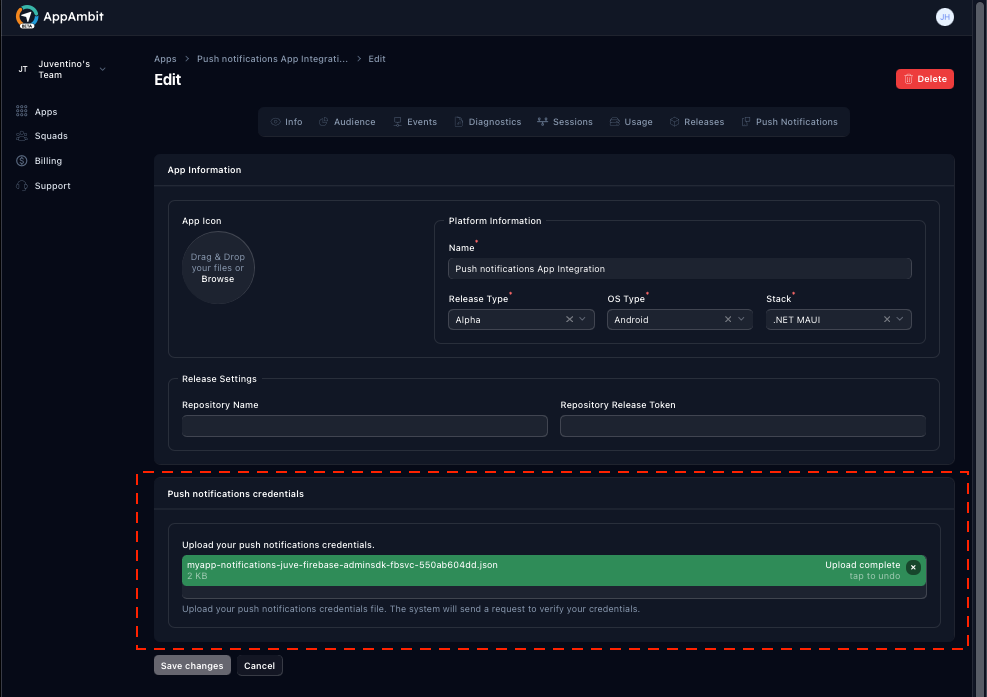
Once the information is entered, it will be validated by the system.
Step 4: Save and Validate the Credentials
At the lower-left corner of the page, click:
Save changes
AppAmbit will:
- Validate the authenticity of the credentials.
- Connect securely to the provider (FCM or APNs).
- Store the file using high-security standards.
- Enable the push feature for your application.

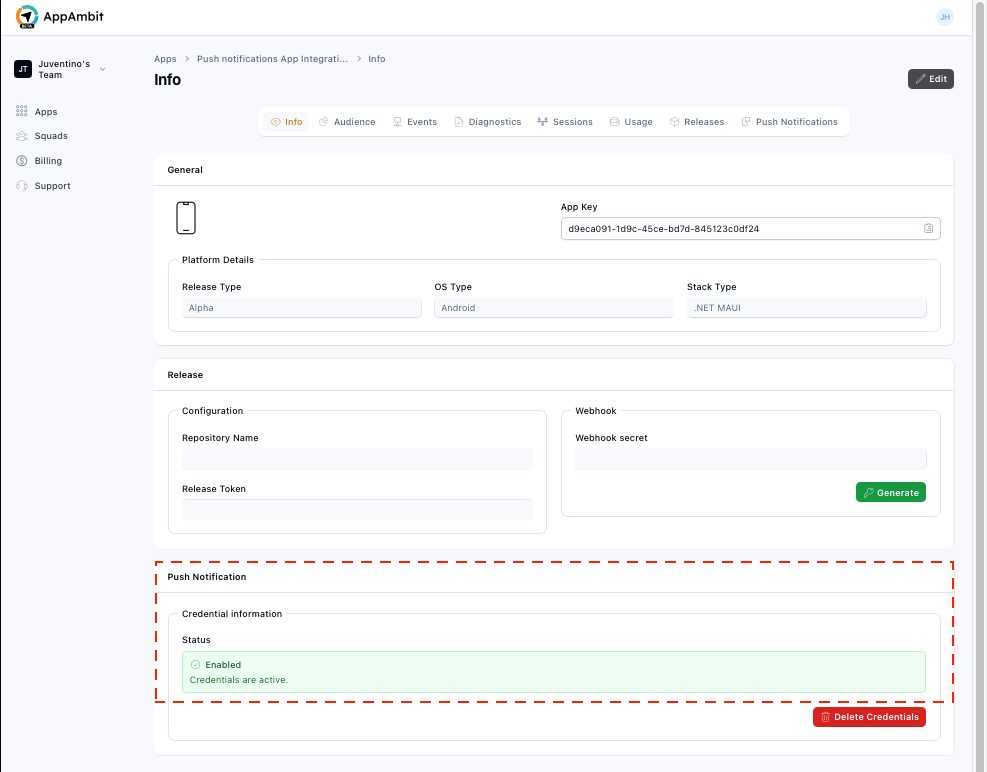
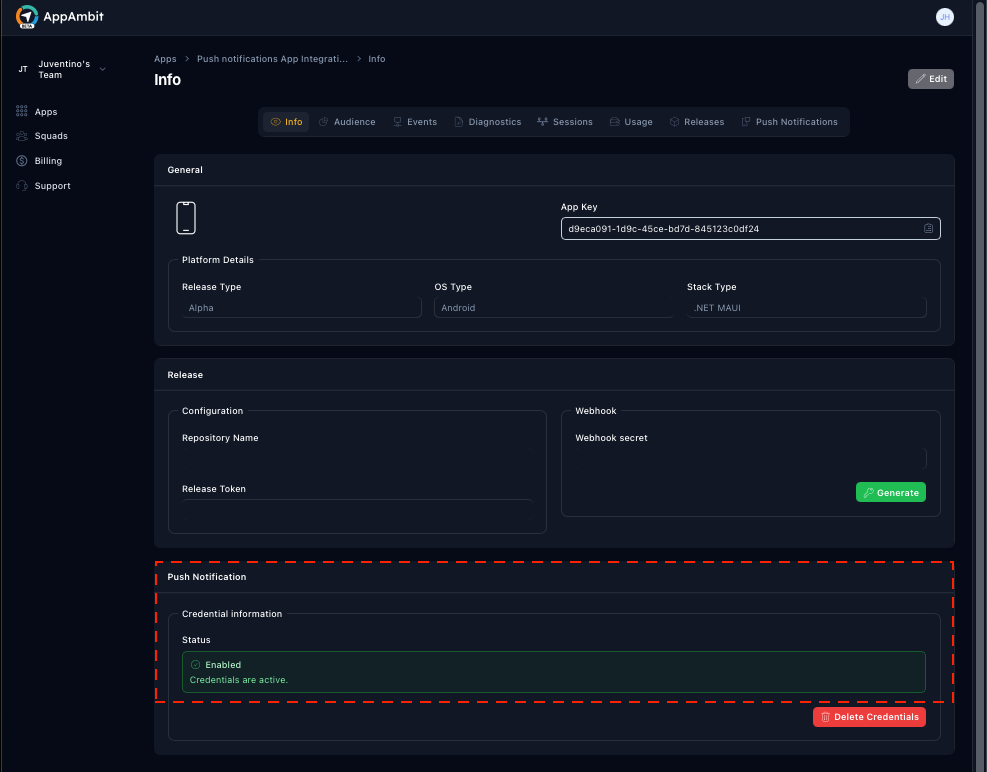
Step 5: Review Credential Status
Return to the App Info page.
Scroll down to the Push Notifications section.
Here you will see:
- A confirmation that your credentials were uploaded successfully.
- The current status (Active, Inactive etc.).
- The option to remove them if needed.
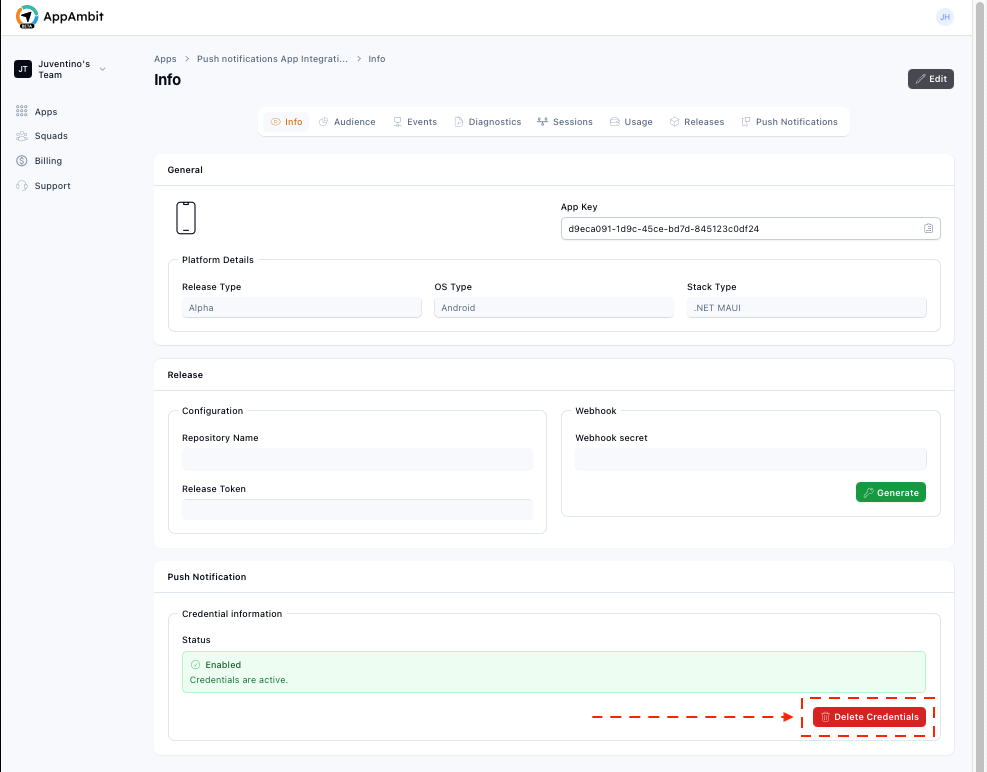
Removing or Replacing Credentials
If you want to update or remove your credentials:
- Click Delete credentials.
- Repeat the upload process with a new file.

Next Step: Create and Send Notifications
Your push notification setup is now complete.
You can now create, schedule, and send notifications to your users.
👉 Continue to: Create and Send Notifications
👉 Or learn about: Credentials Rotation
Summary
You have successfully connected your push provider credentials to AppAmbit.
With this setup complete, AppAmbit is now authorized to send notifications securely to your Android or iOS devices using FCM or APNs.
This concludes the setup phase — you're ready to begin sending push notifications.