Manual Integration Guide
This guide provides step-by-step instructions on how to manually upload your build artifacts directly to the AppAmbit Dashboard, without requiring a connected repository or CI/CD integration.
Prerequisites
Before you begin, make sure you have generated the build artifact from your development environment. The only requirement is that the file uses the correct extension for the selected platform: Artifact Naming and Loading.
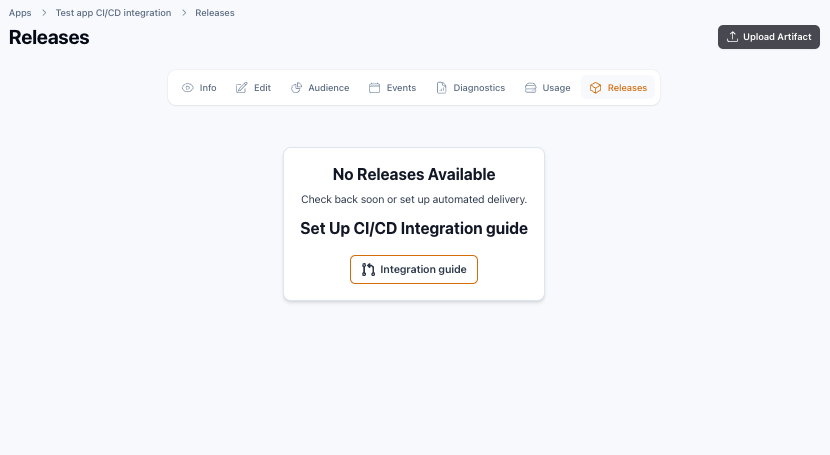
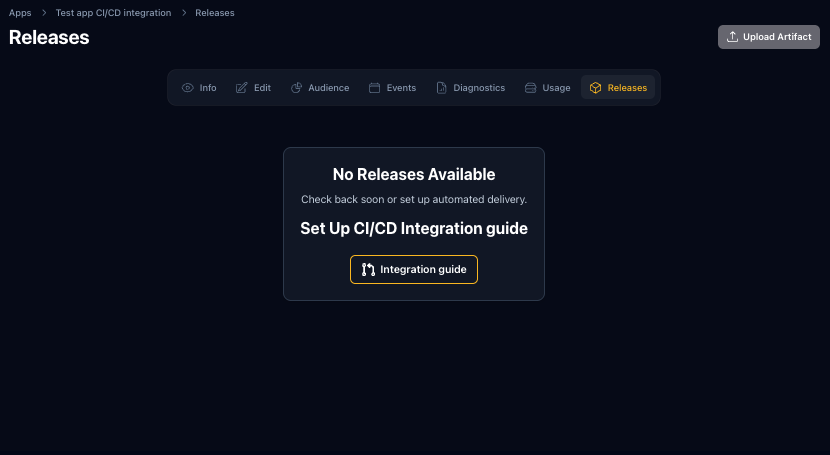
Step 1: Open the Releases Section
From the AppAmbit Dashboard, navigate to your App and open the Releases section. Here, click the Upload Artifact button to start the upload process.
After clicking the button, the upload dialog will appear:
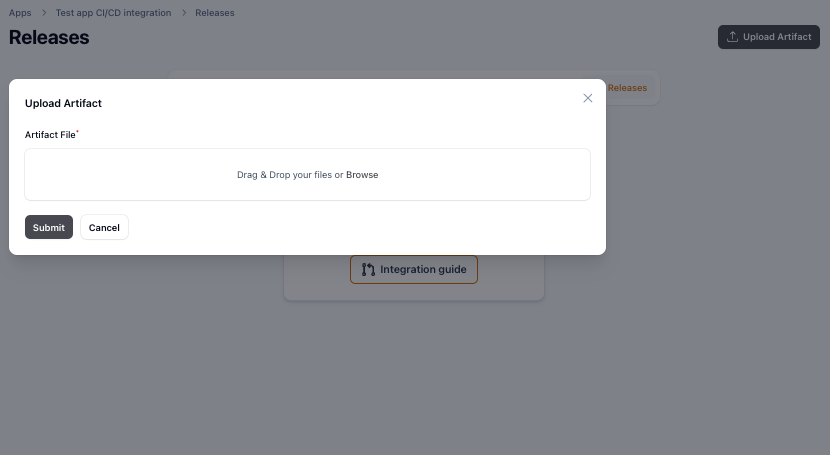
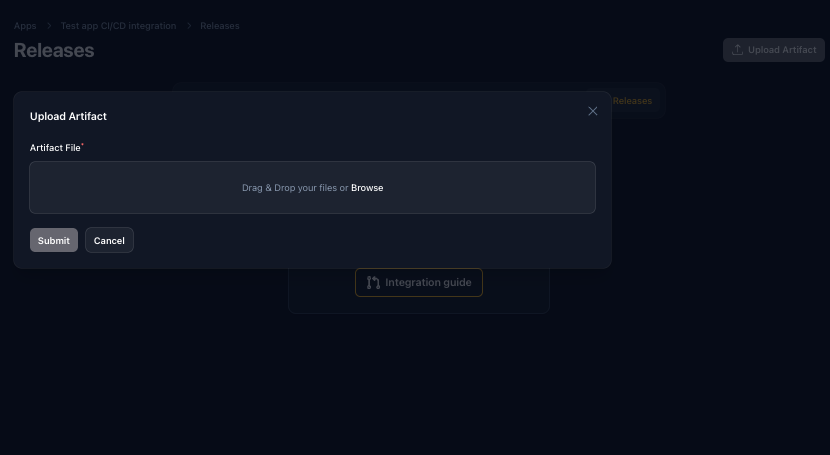
Step 2: Select and Upload Your Artifact
Choose the artifact file from your computer. Remember: the system validates only the file extension to ensure it matches the selected platform.
-
Example: Android requires .apk, iOS requires .ipa.
-
Filenames can be anything you like (e.g., build_test.apk, release_v1.ipa).
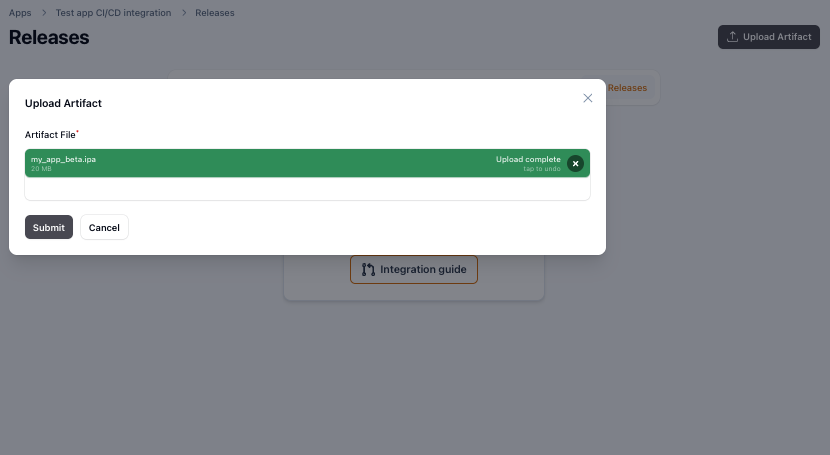
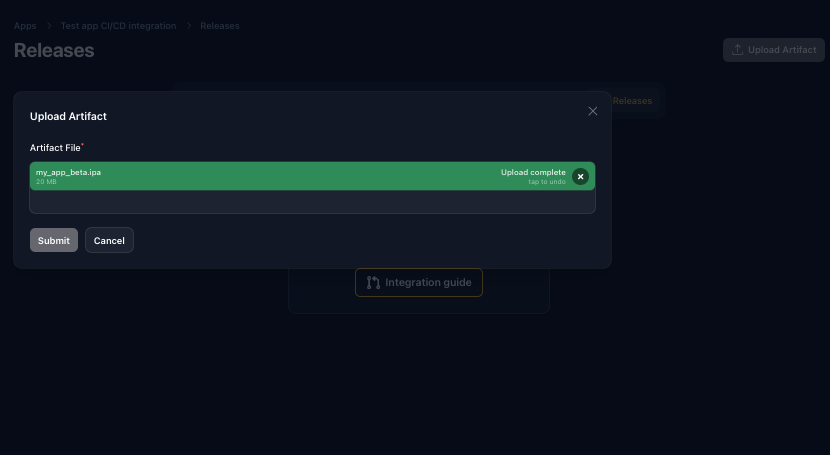
Once the file is selected, confirm the upload and wait until the process completes successfully.
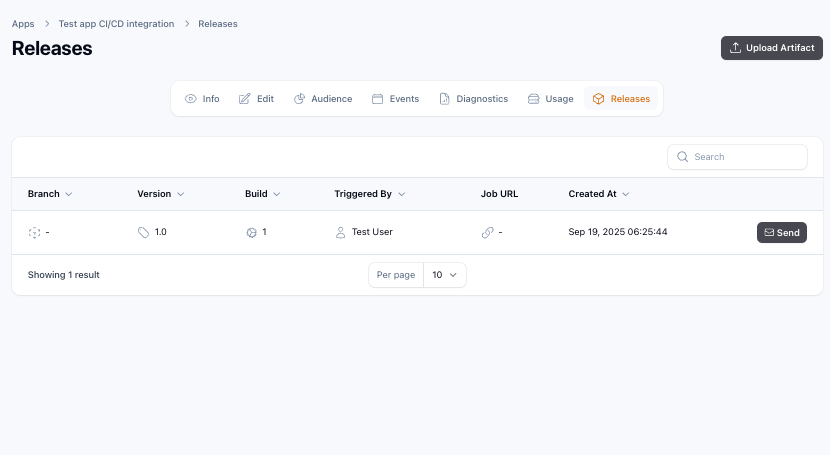
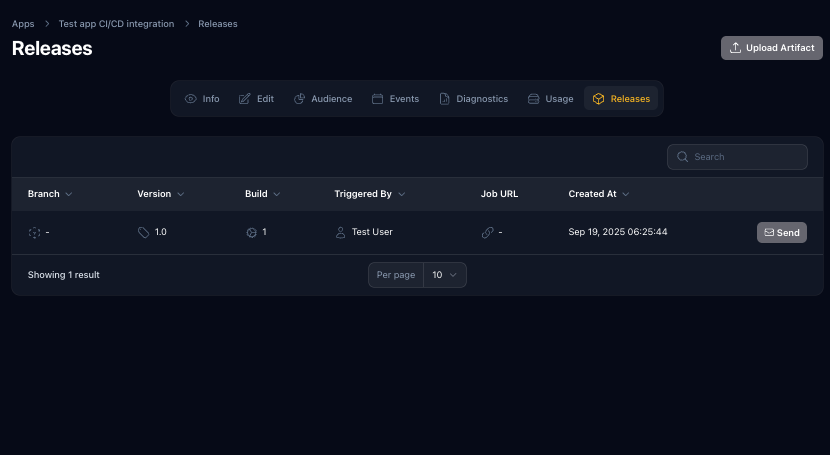
Step 3: Verify Your Release
When the upload finishes, the artifact will automatically appear in the Releases table. From here, you can:
- View details of the uploaded artifact.
- Confirm that the release is available for testers or end-users.
Troubleshooting
- Ensure the file extension matches the target platform.
- If the file fails to upload, check your internet connection and try again.
- Large files may take a few minutes depending on your network speed.
Next Steps
Learn about GitHub CI/CD integration