Azure DevOps Integration Guide
This guide provides step-by-step instructions on how to connect your Azure DevOps repository with the AppAmbit Dashboard to enable automated CI/CD workflows.
Prerequisites
Before you begin, ensure you have an existing Azure DevOps repository with a configured azure-pipelines.yml file that generates the required build artifacts.
Step 1: Create a Personal Access Token (PAT)
The AppAmbit Dashboard needs a Personal Access Token (PAT) to communicate securely with your Azure DevOps repository.
-
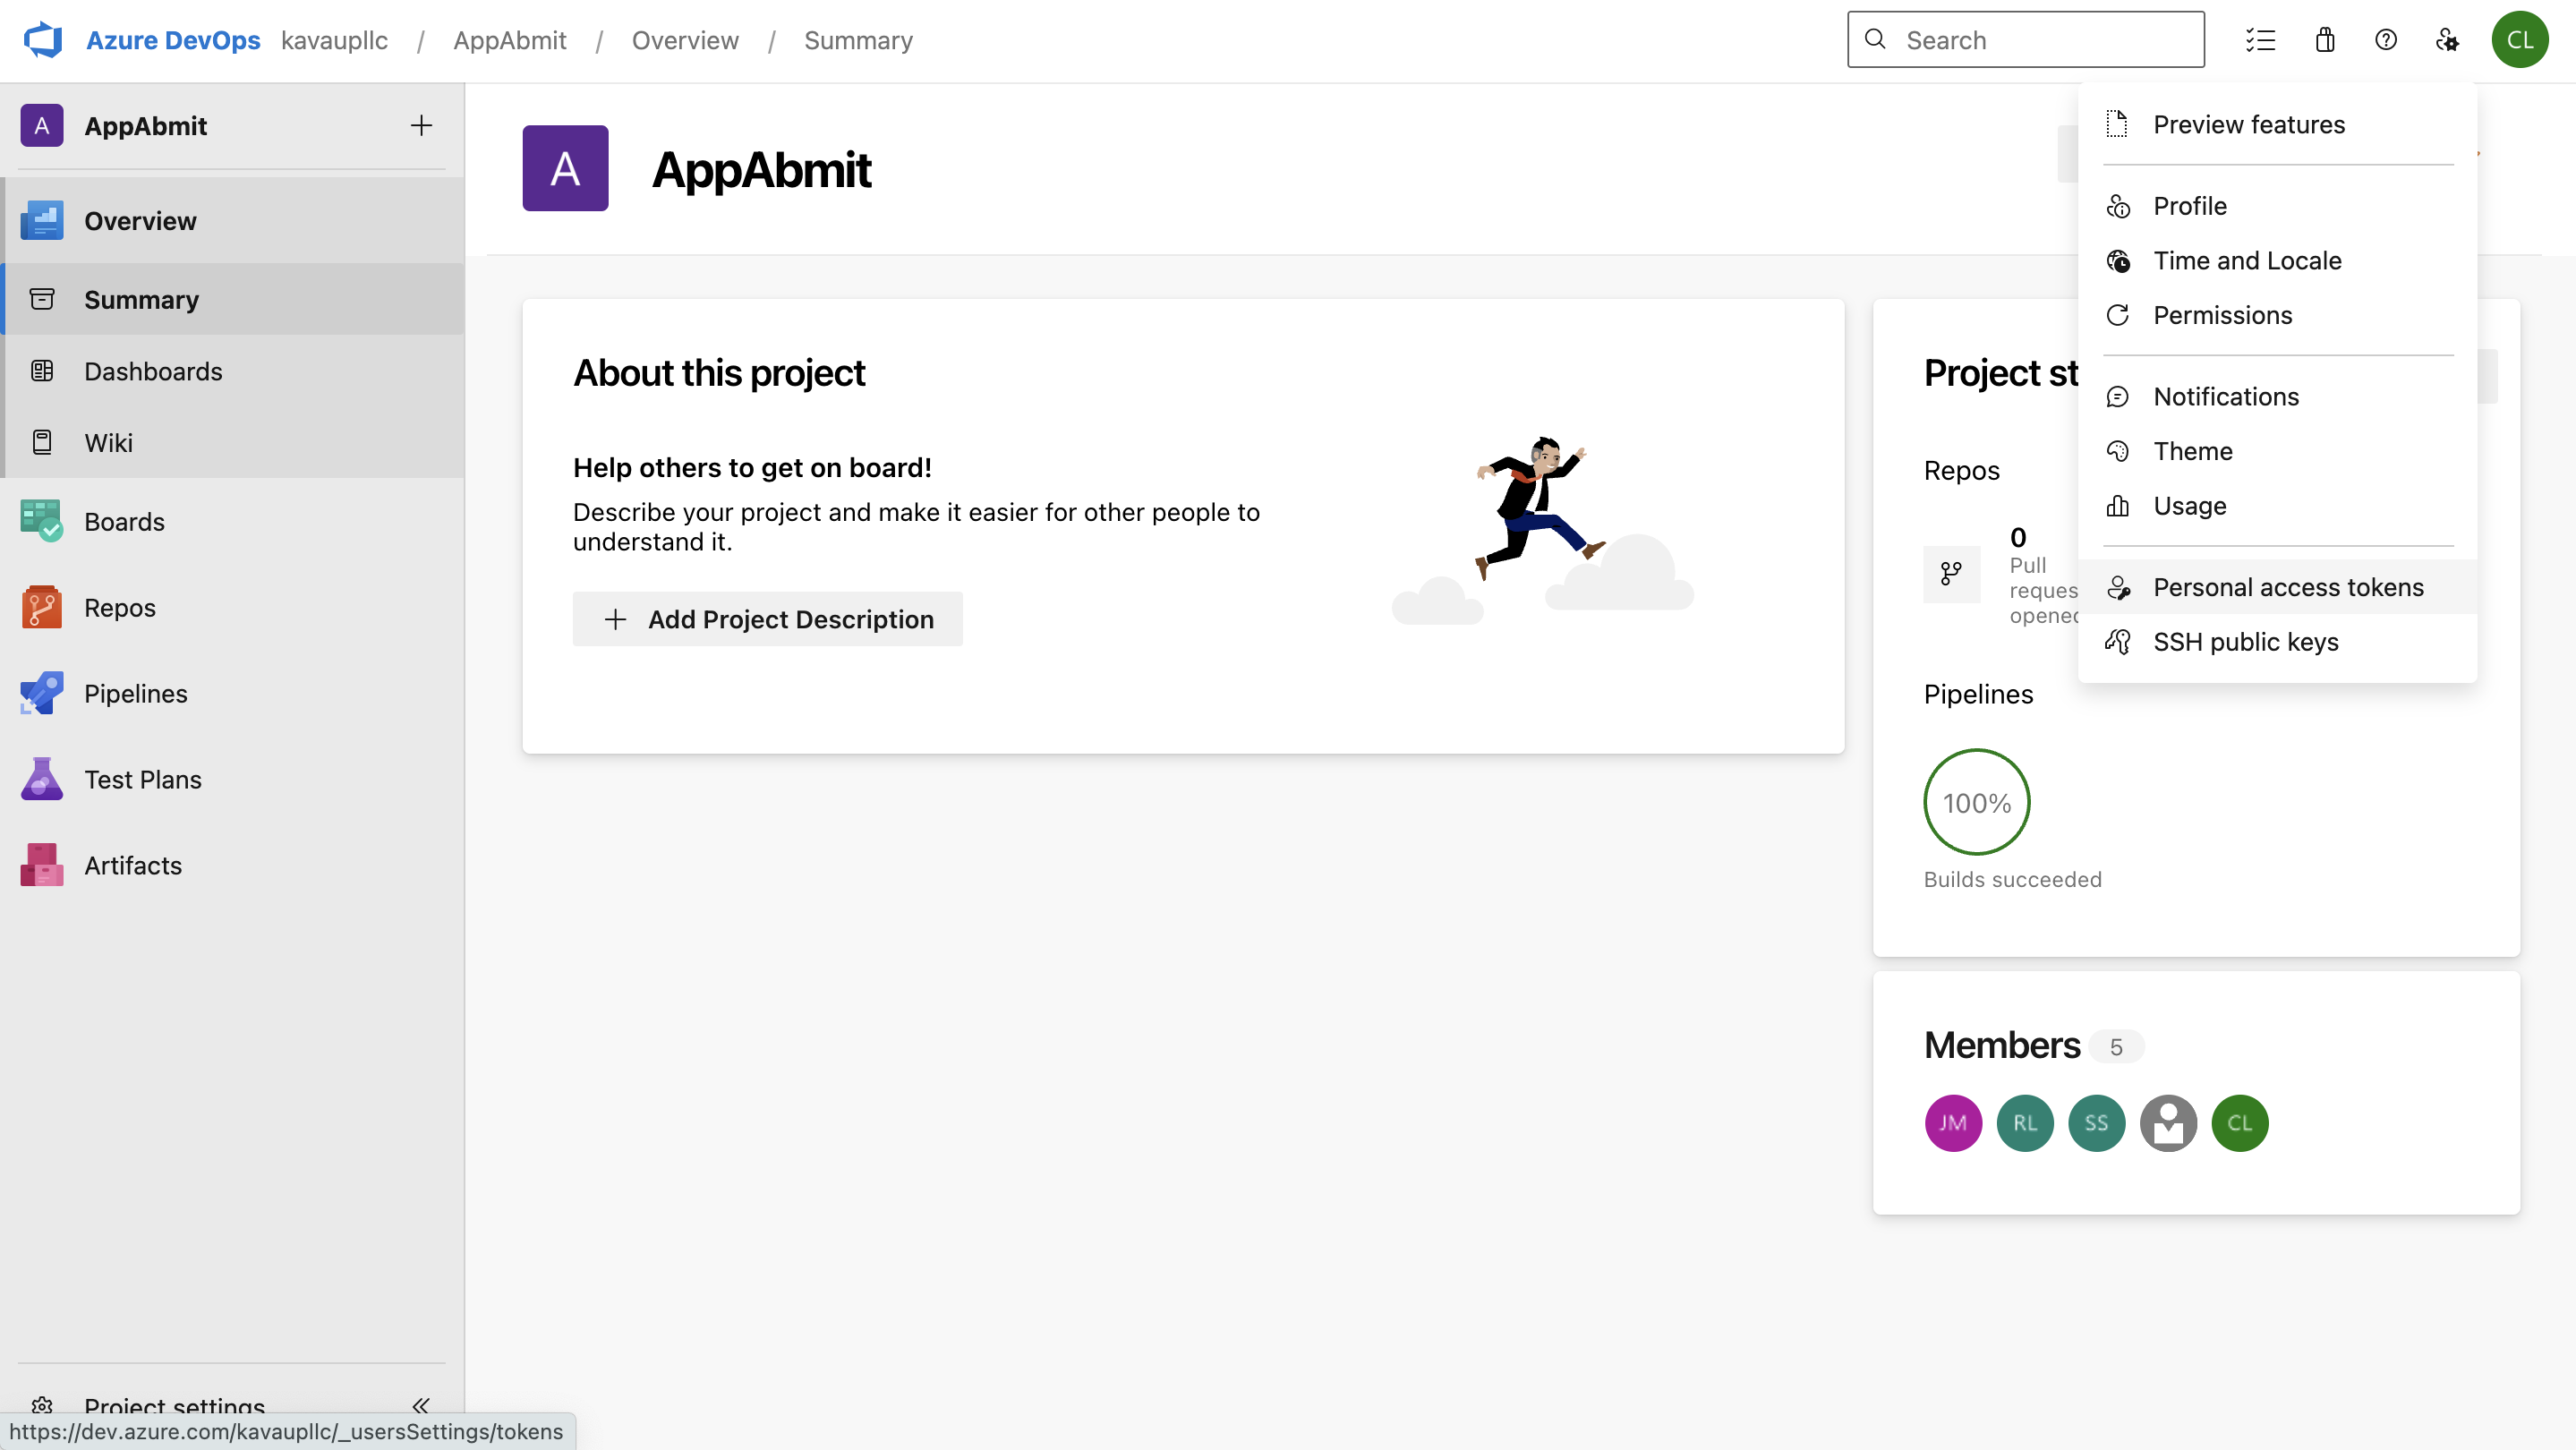
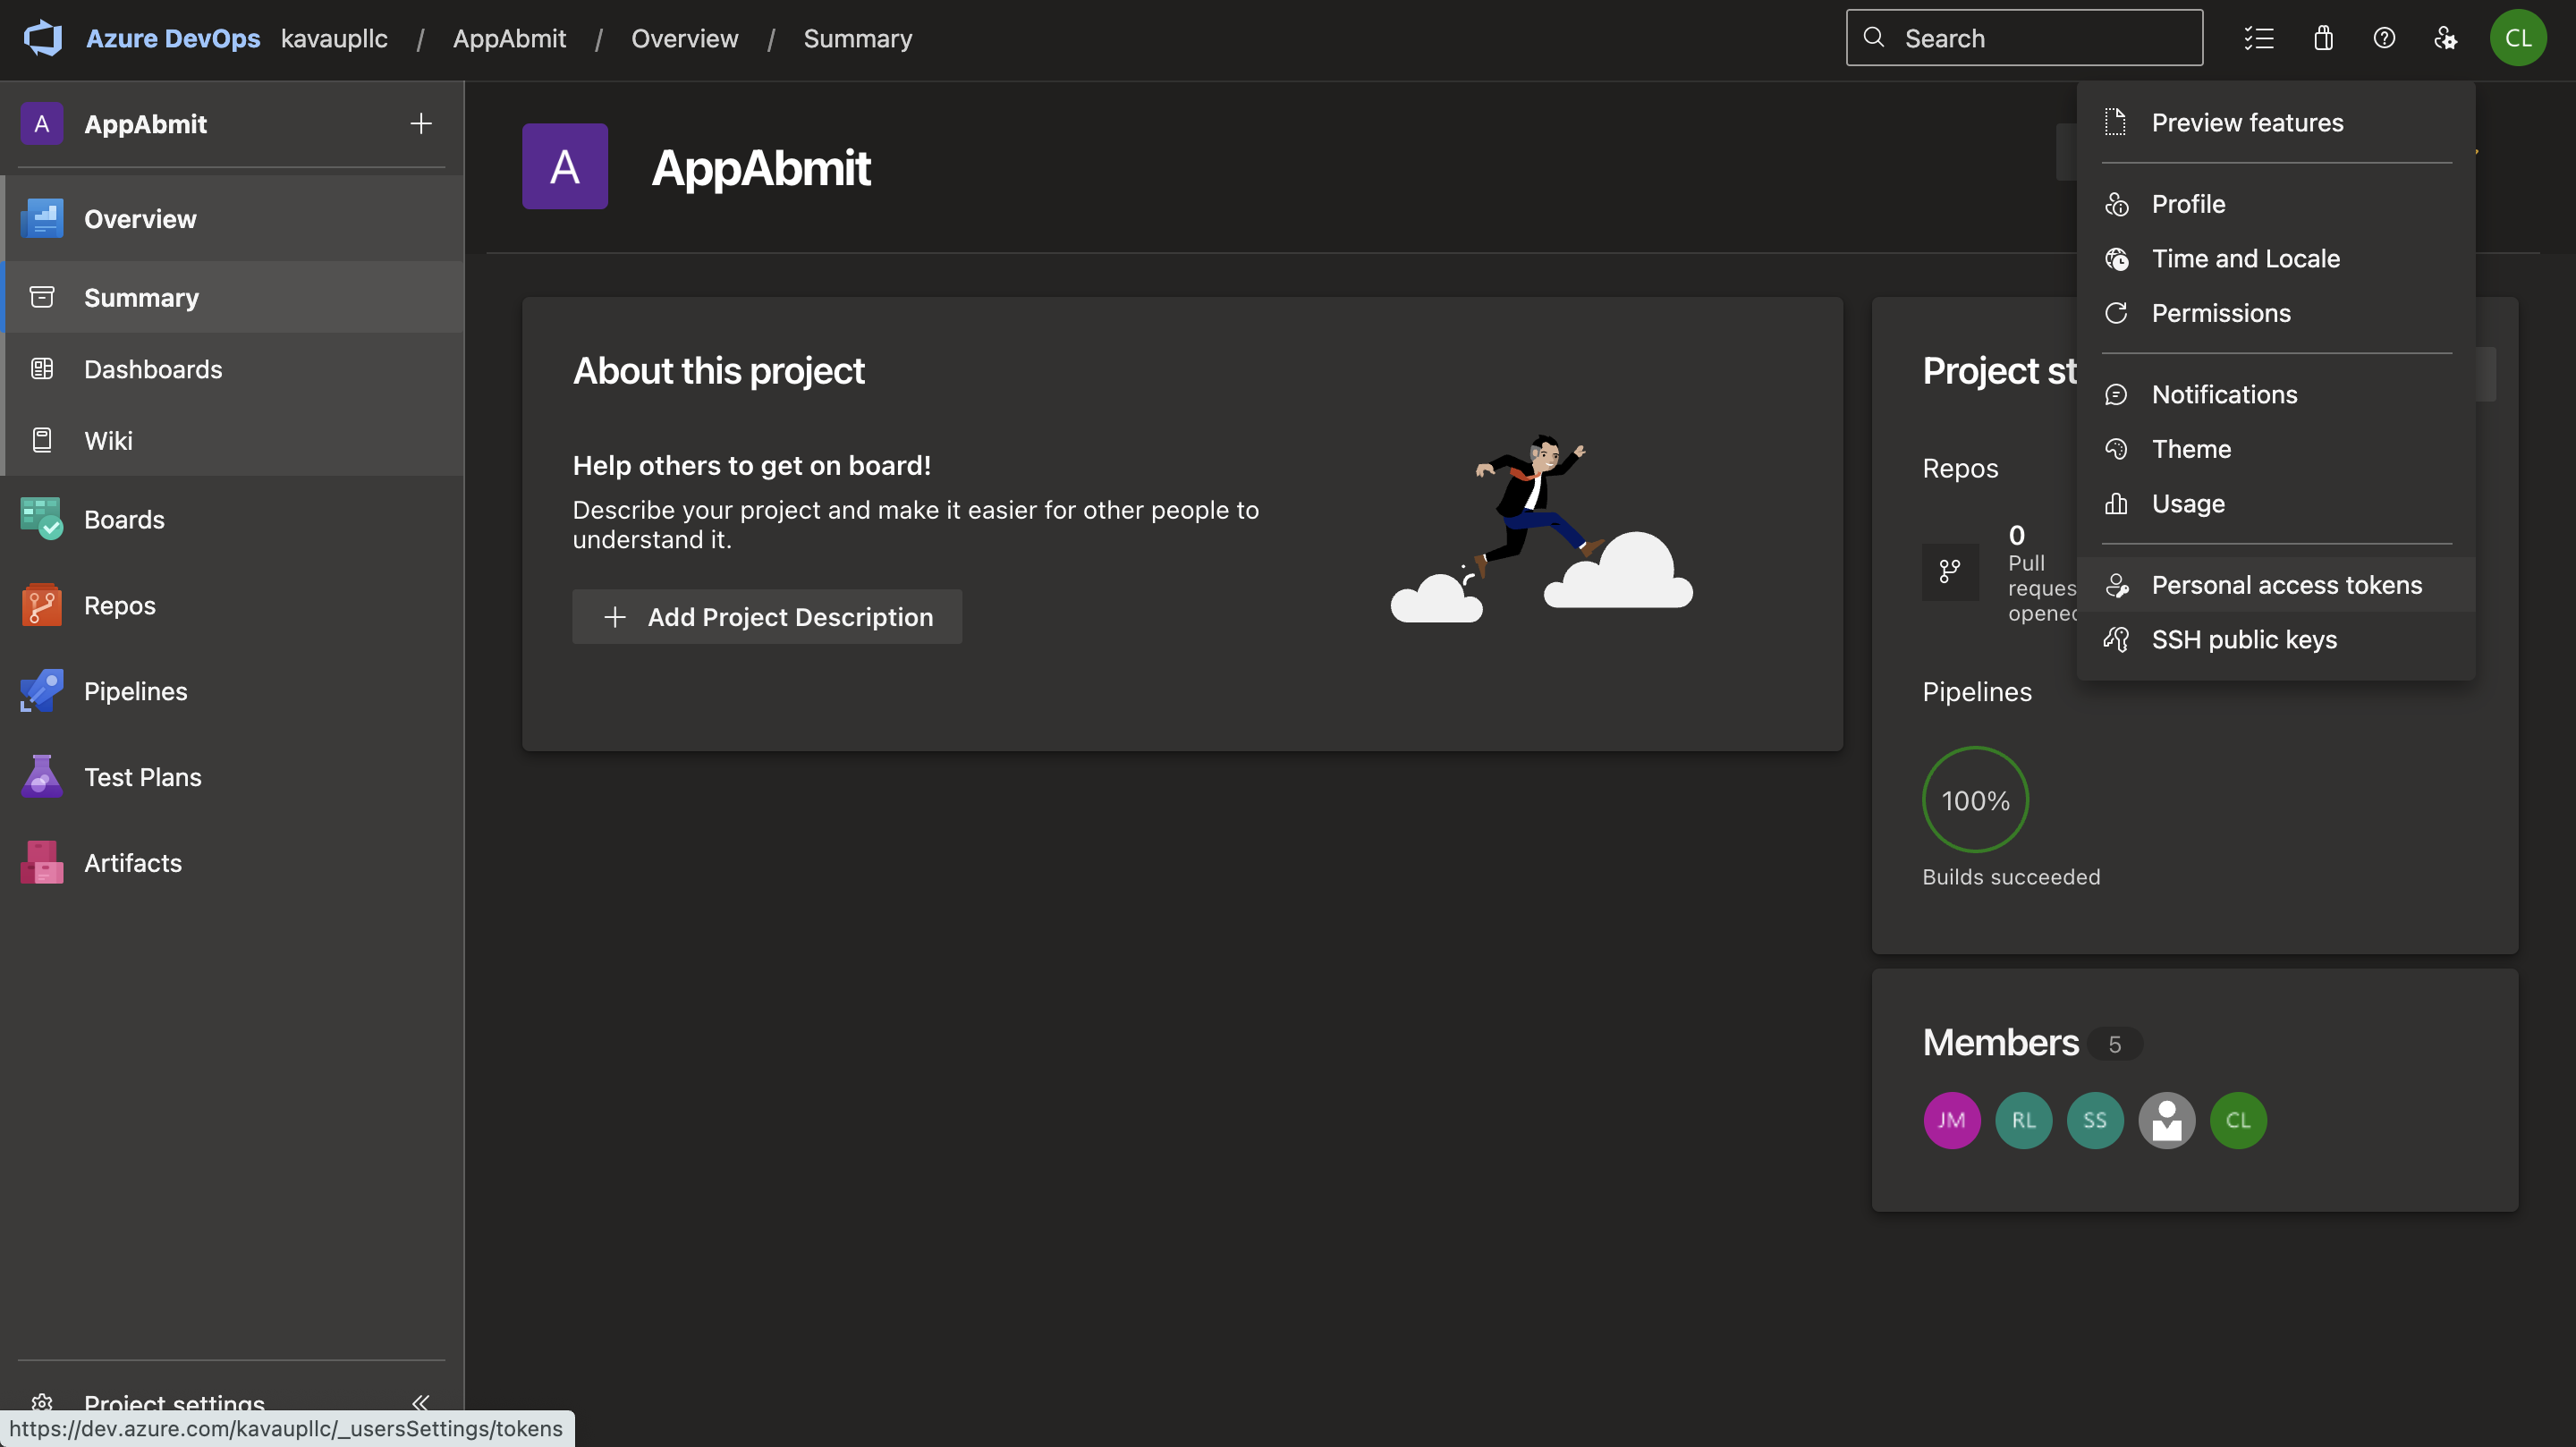
In your Azure DevOps organization, click your user icon in the top-right corner and select Personal access tokens.
-
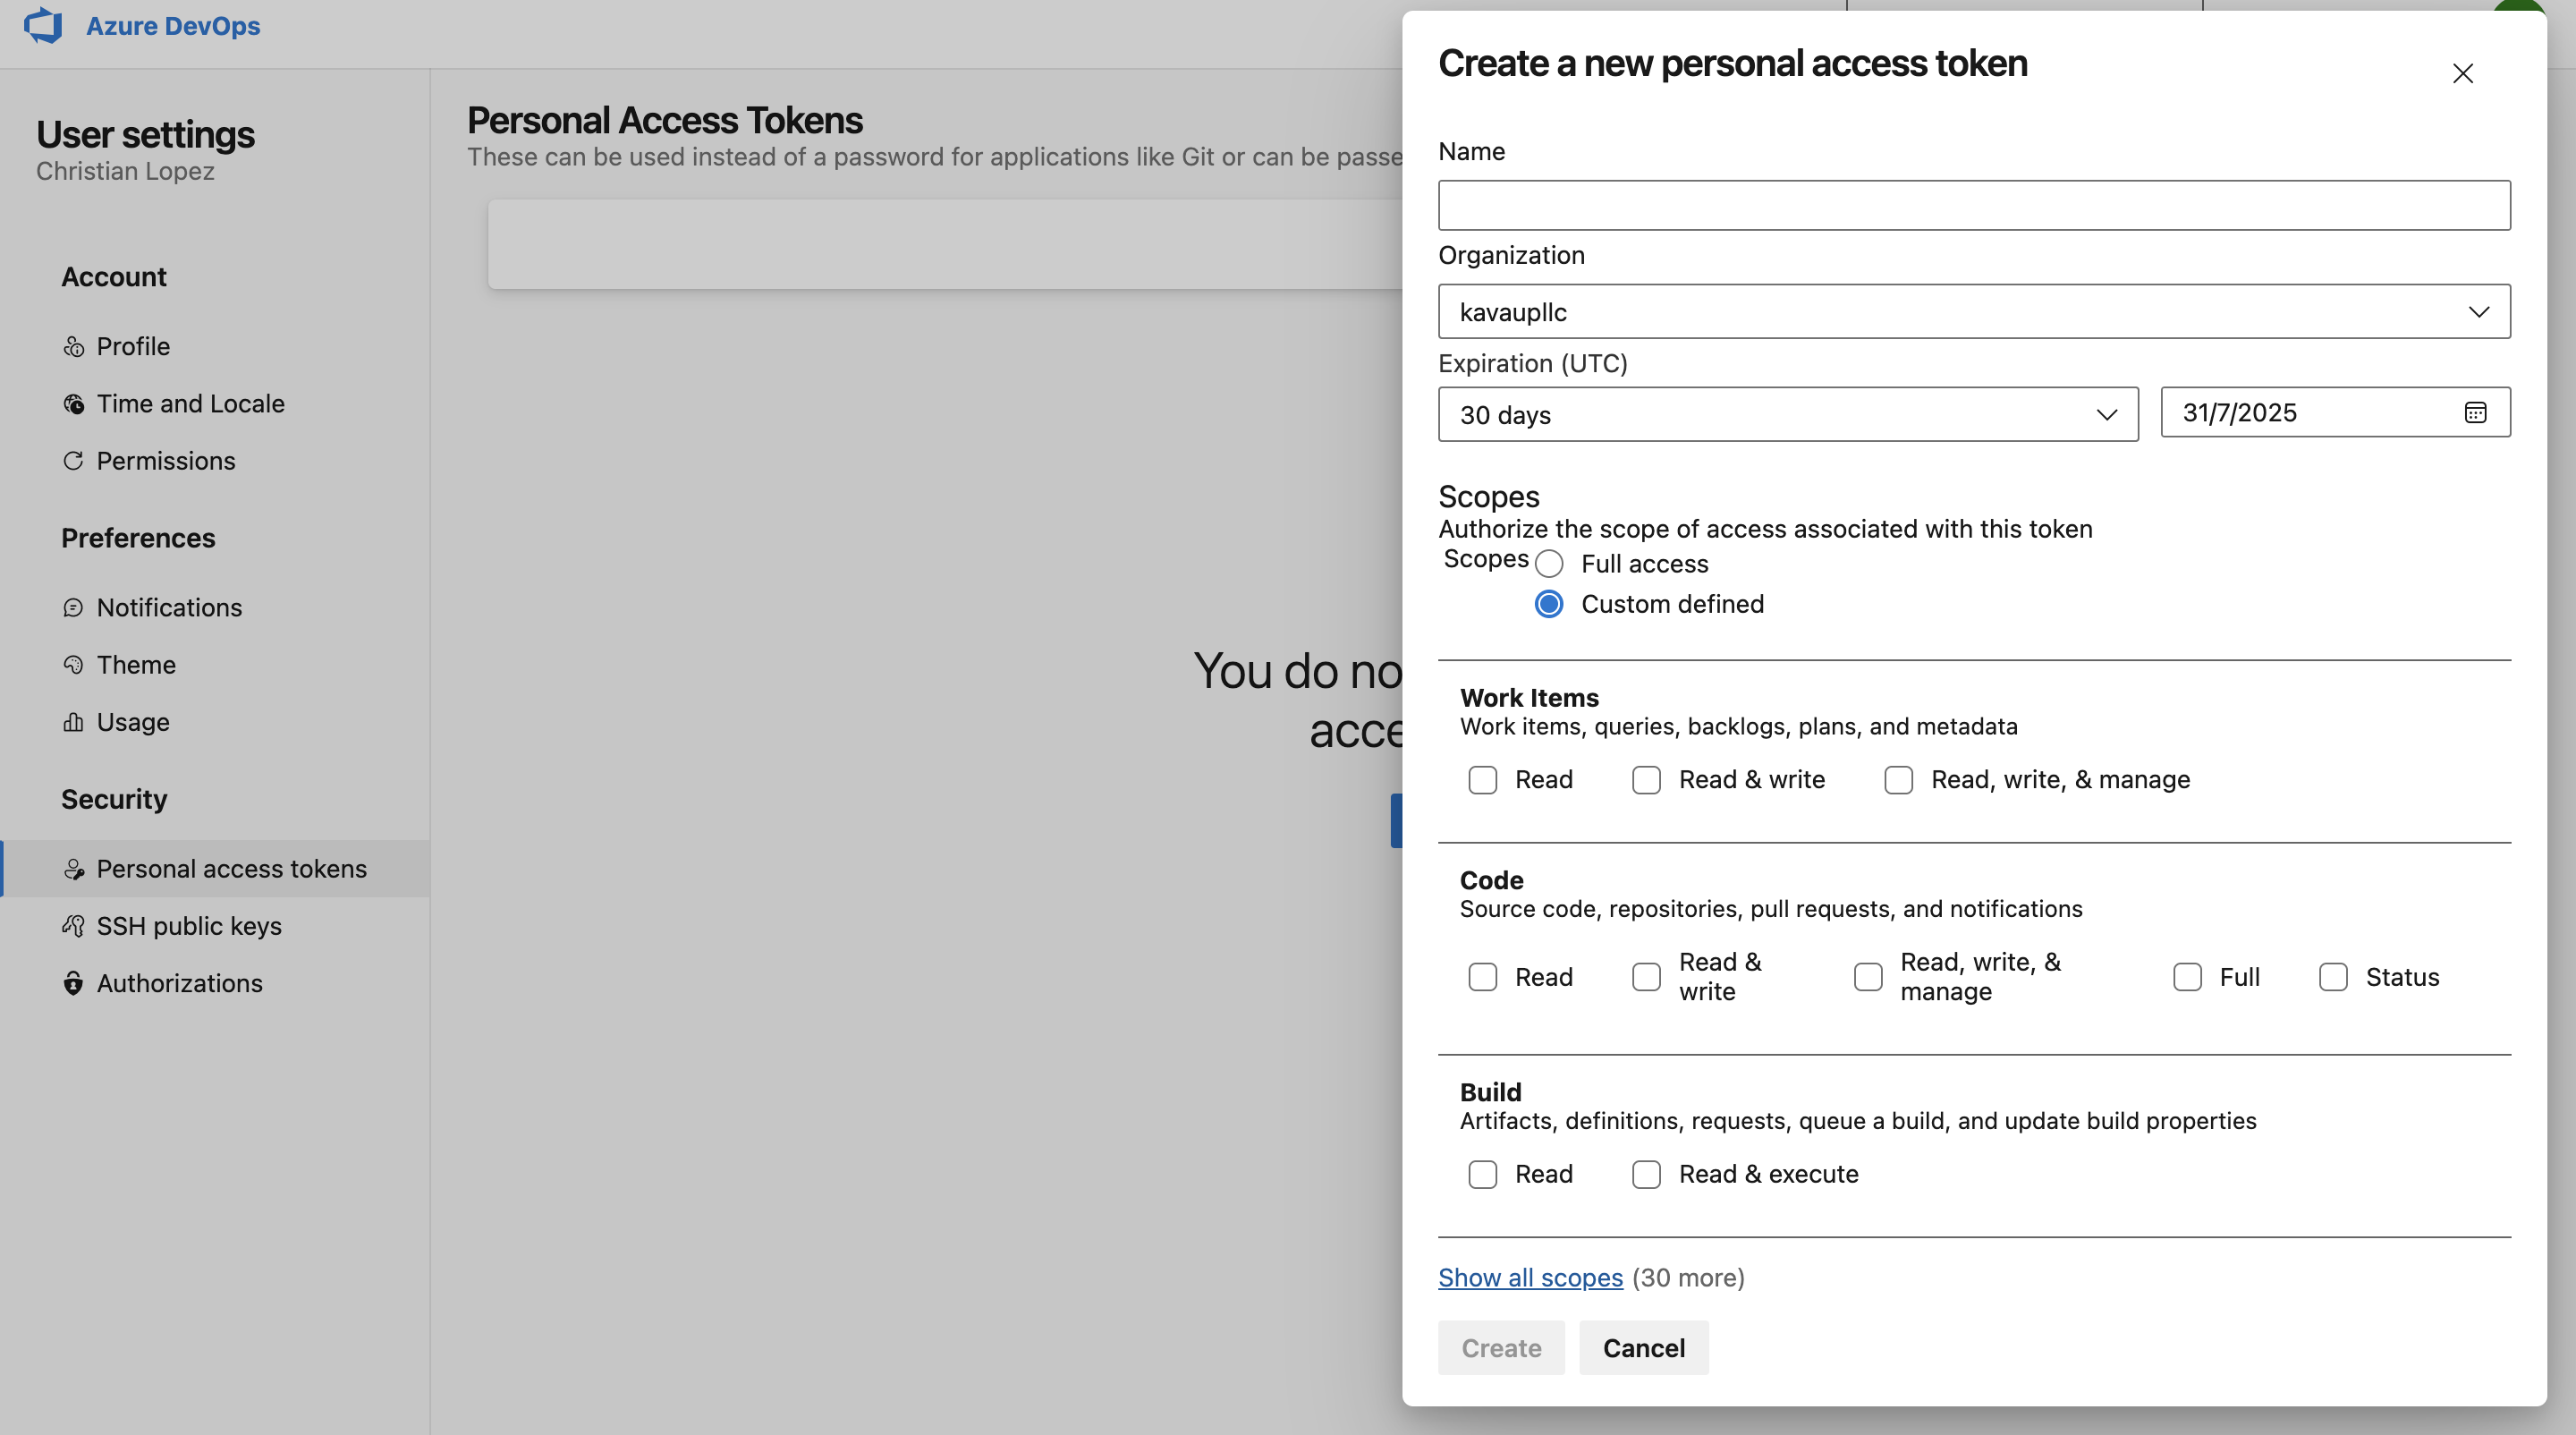
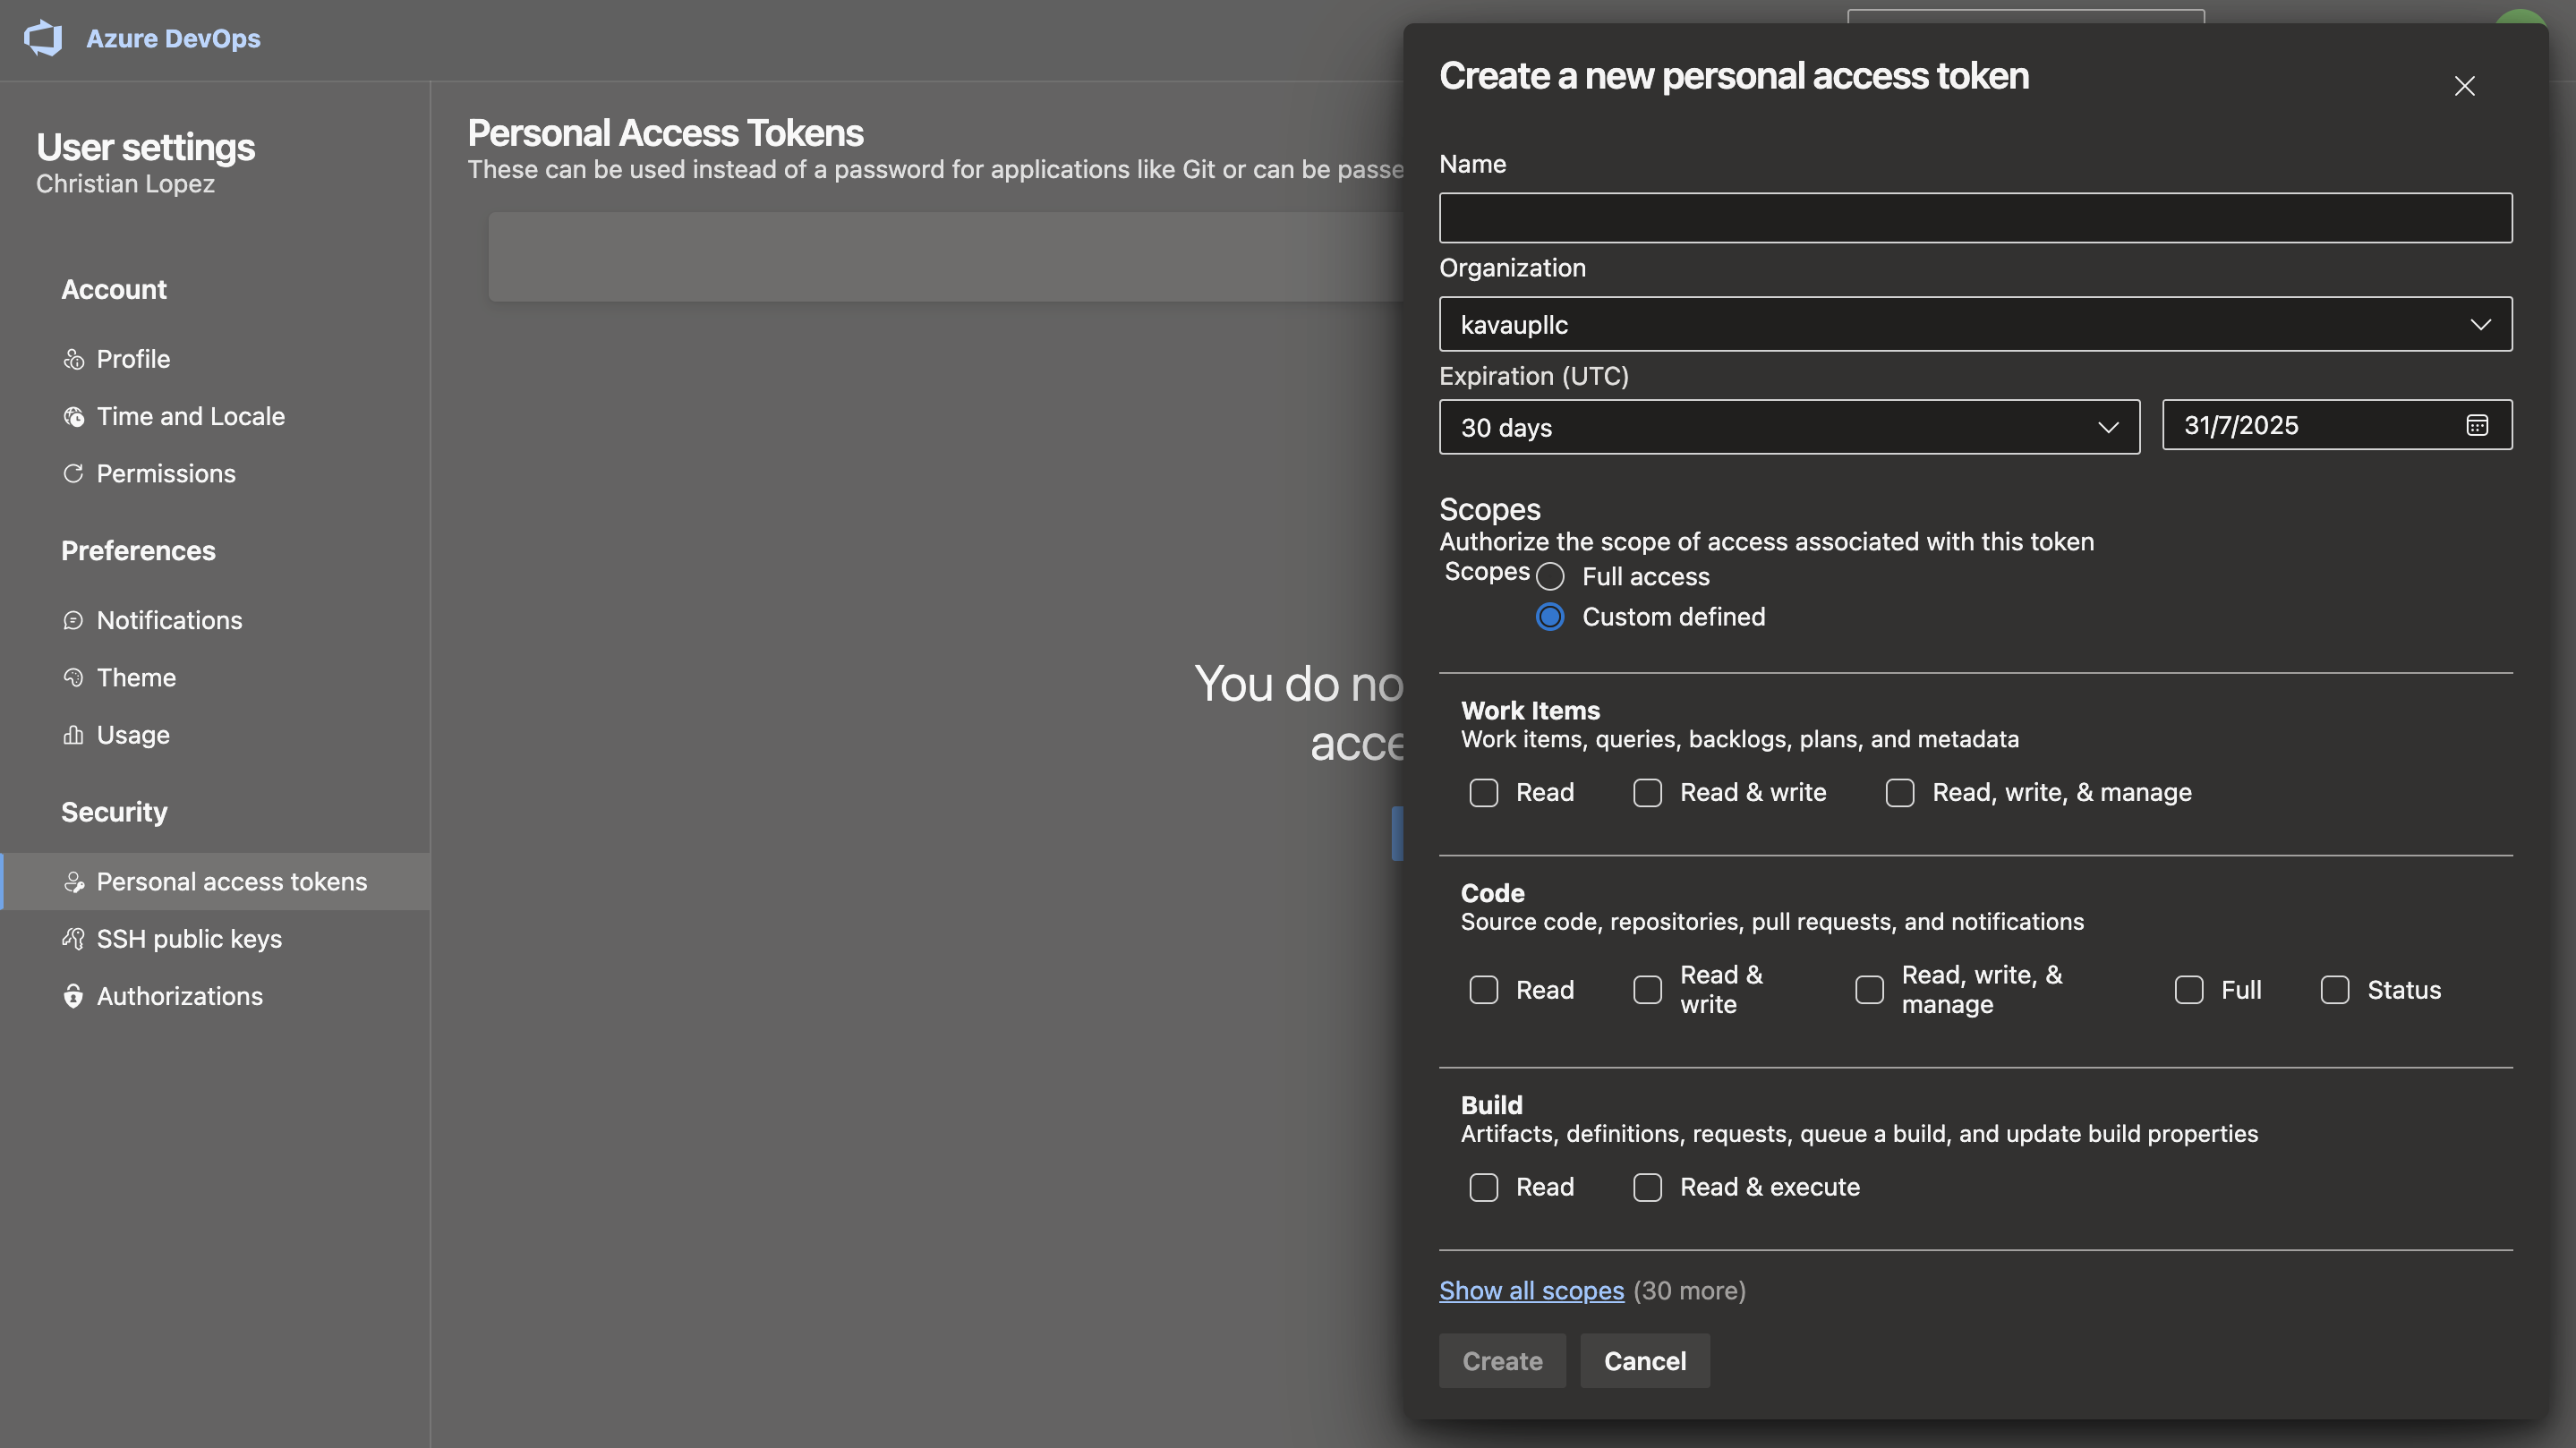
Click on + New Token.
-
Configure the token with the following settings:
- Name: Give your token a descriptive name (e.g., "AppAmbit Dashboard Integration").
- Organization: Ensure the correct organization is selected.
- Expiration: Choose an appropriate expiration date.
- Scopes: Select Custom defined and grant the following permissions:
Build: Read & executeCode: ReadRelease: Read
-
Click Create.
Save Your Token!
Azure DevOps will only show you the PAT once. Copy it immediately and store it in a secure place. You will need this for Step 3. If you lose it, you must create a new one.
Step 2: Configure the Service Hook (Webhook)
The Service Hook notifies the dashboard whenever a pipeline build completes.
-
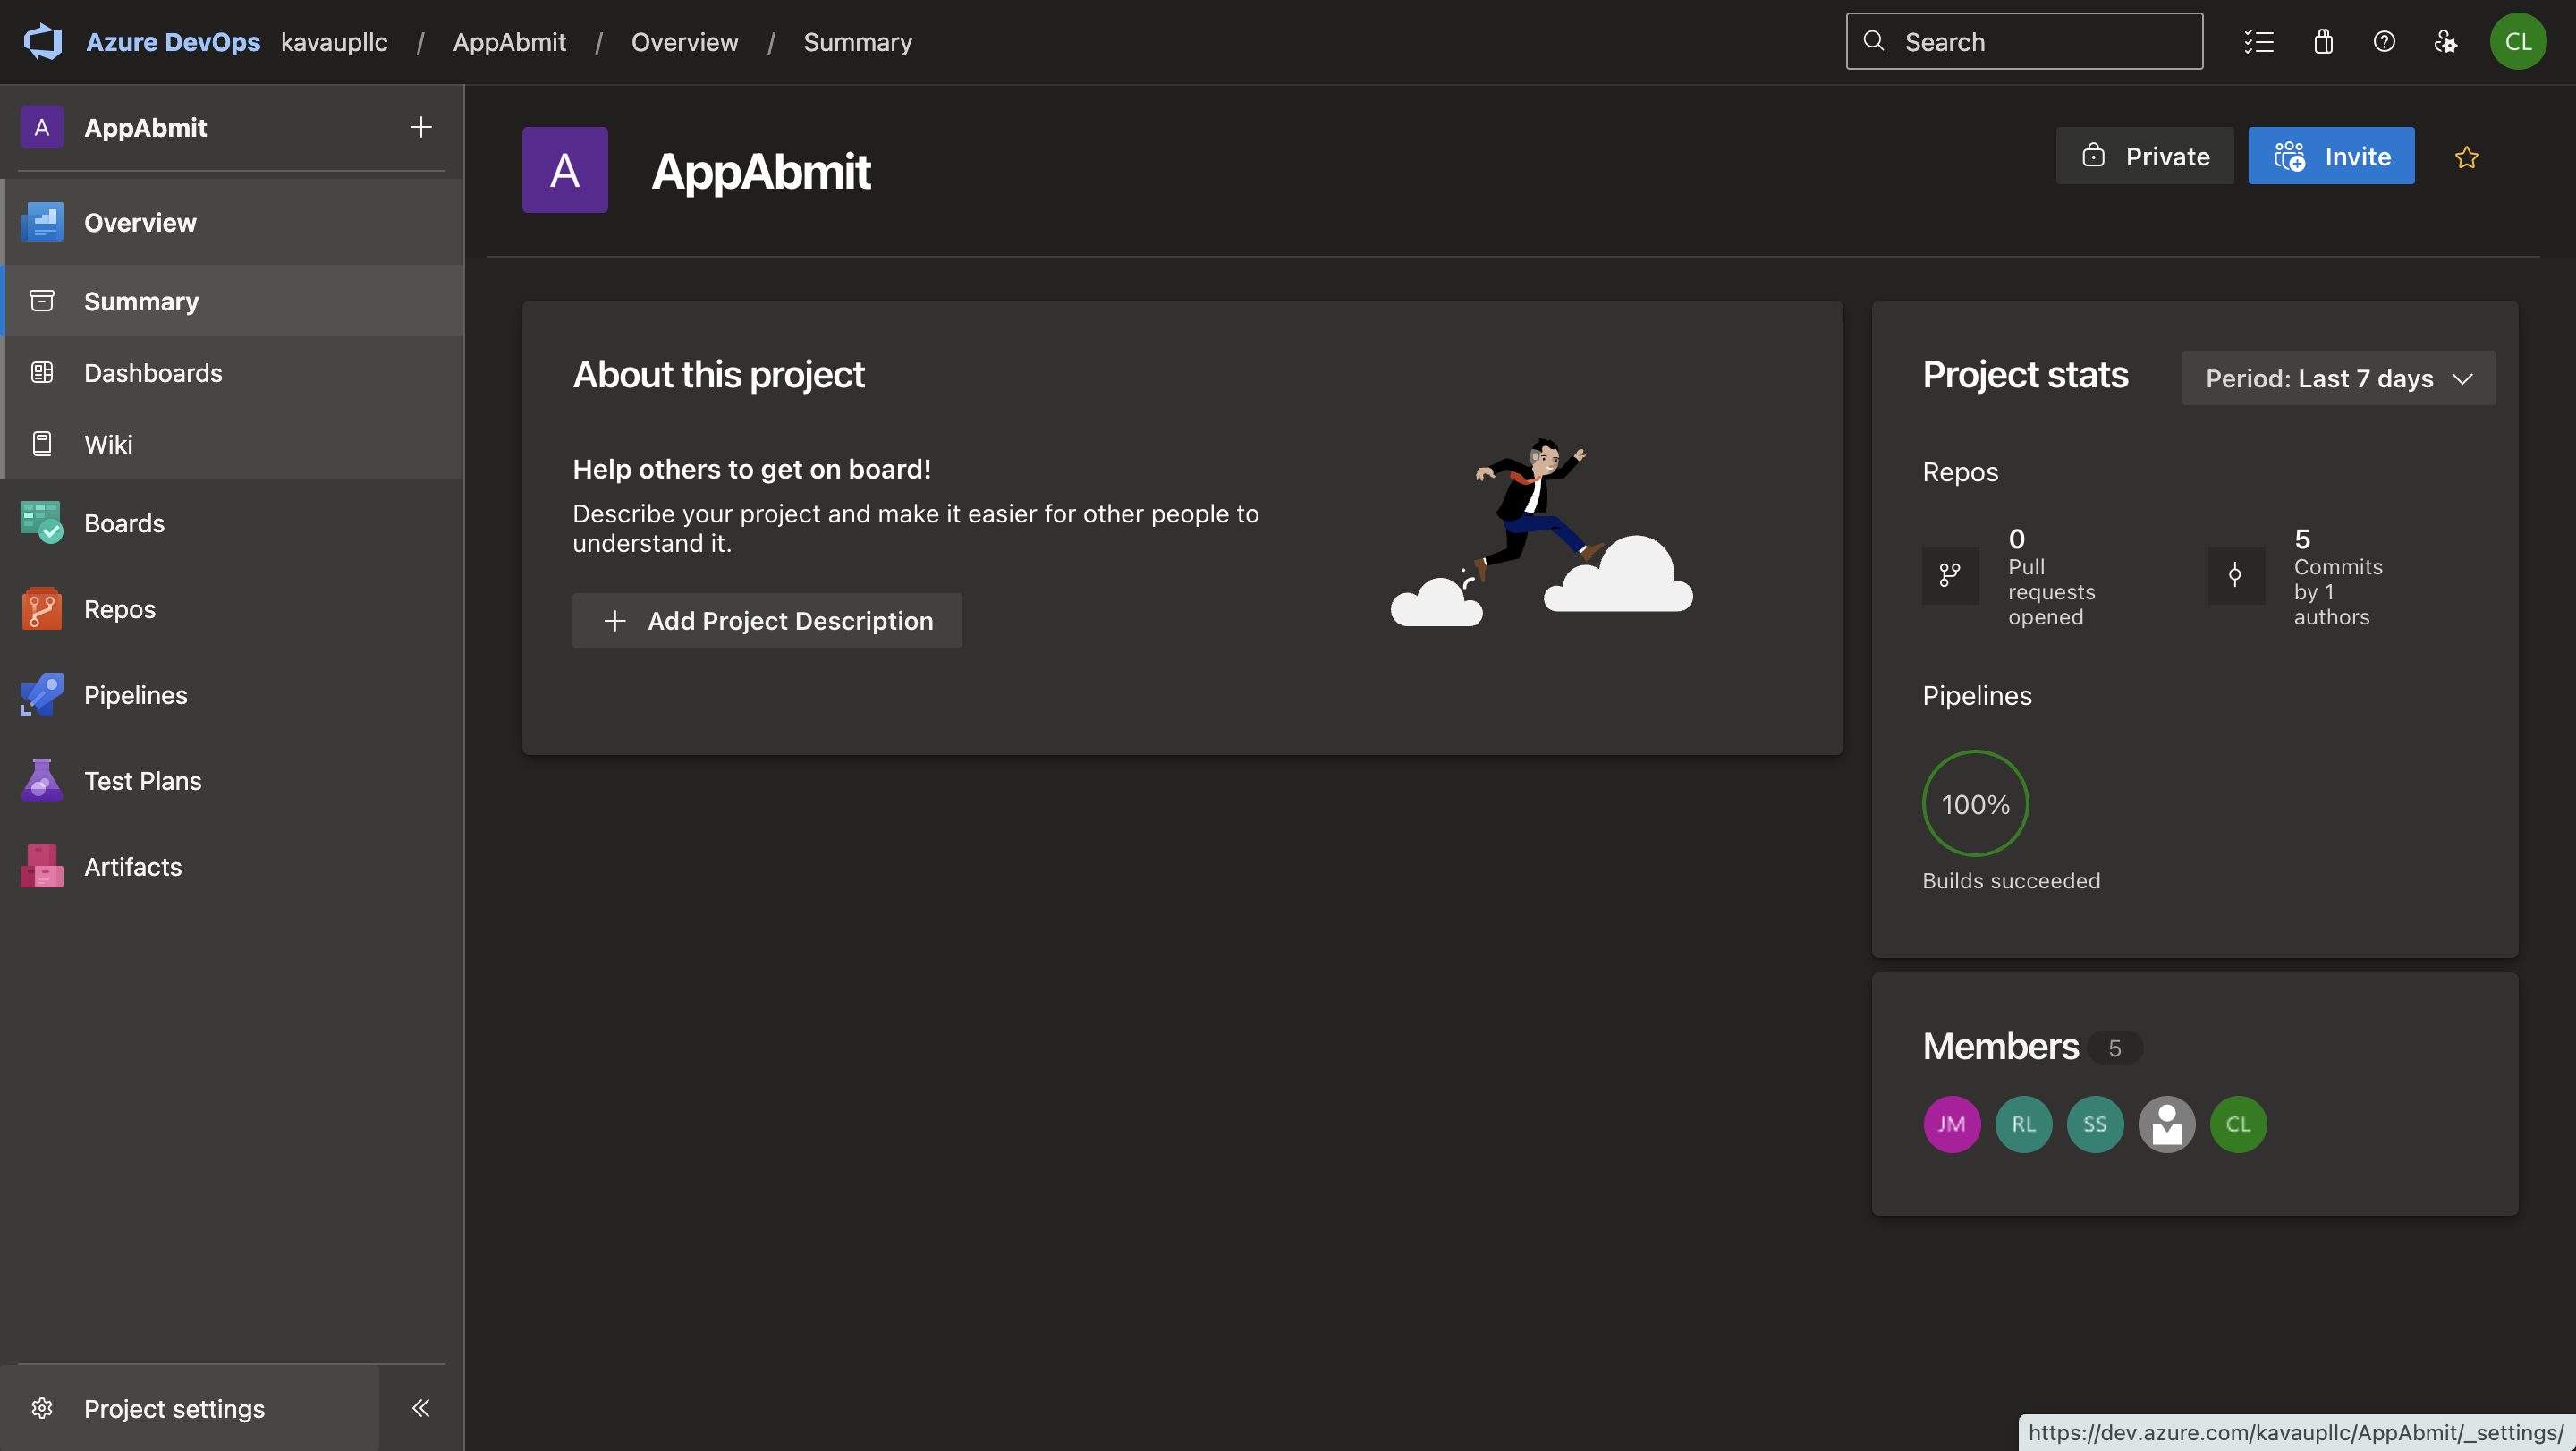
Navigate to your Azure DevOps project and click on Project settings in the bottom-left corner.

-
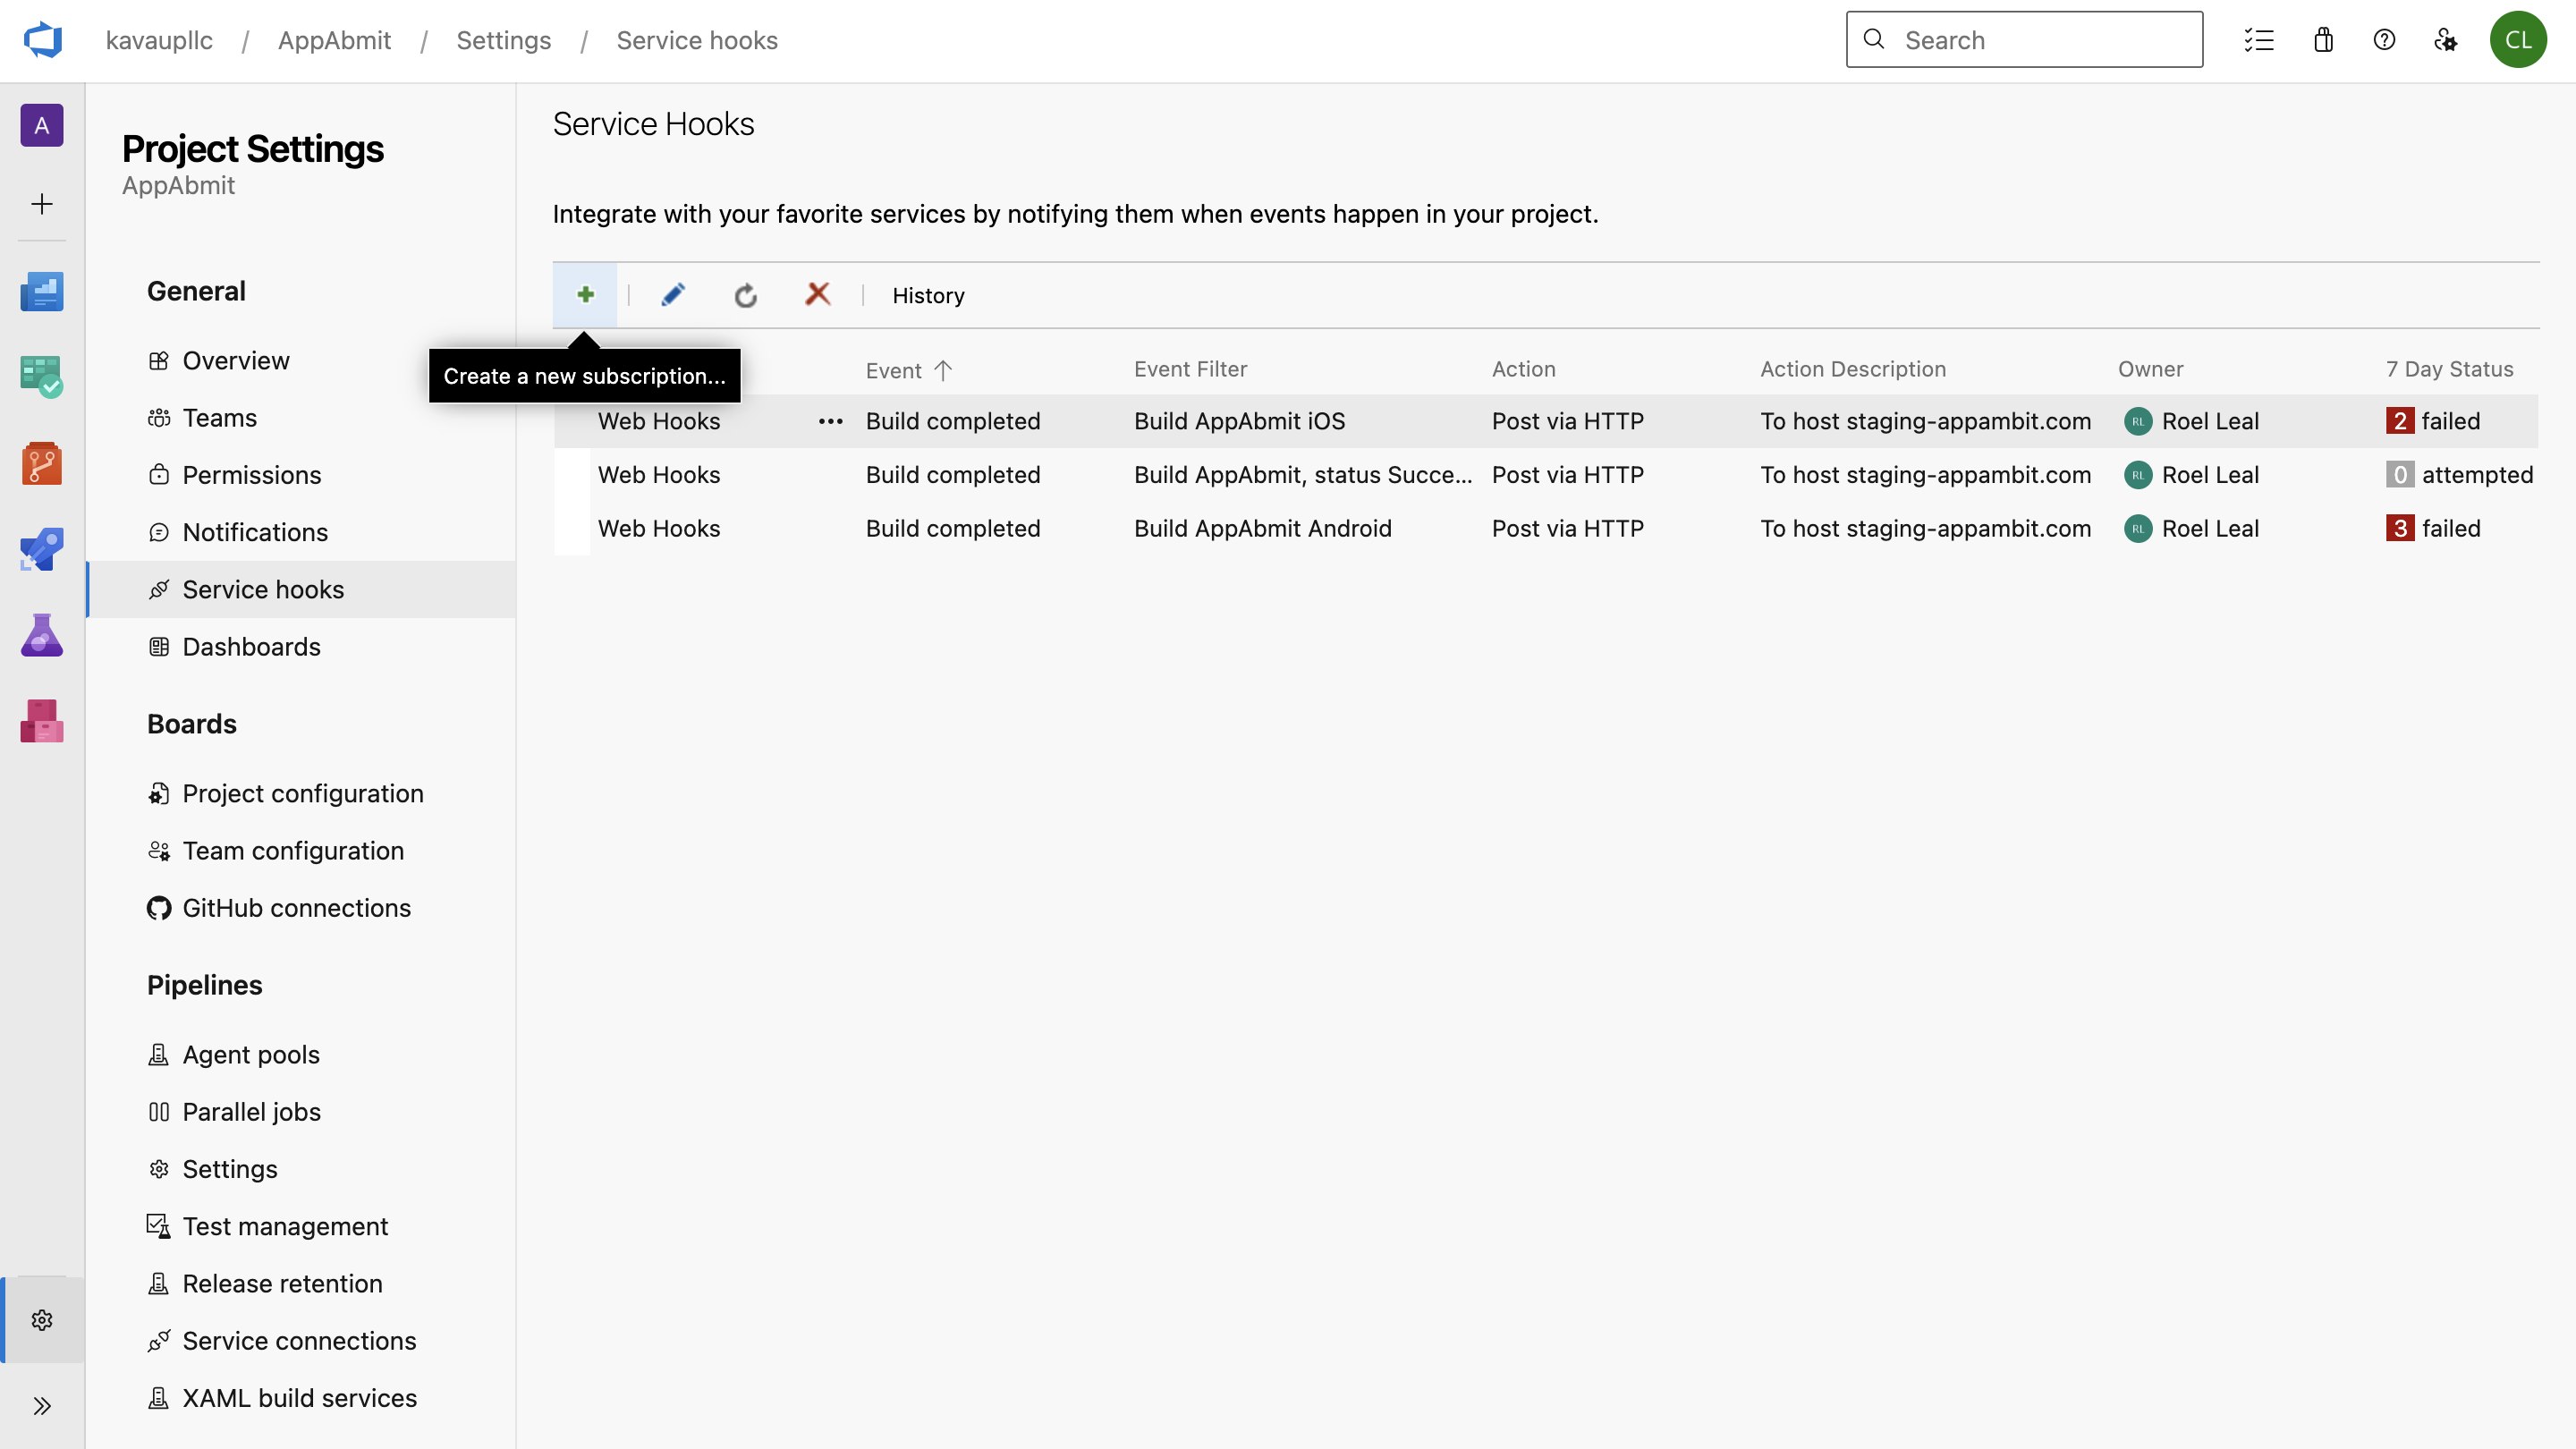
Under the "General" section, select Service hooks and click + Create subscription.

-
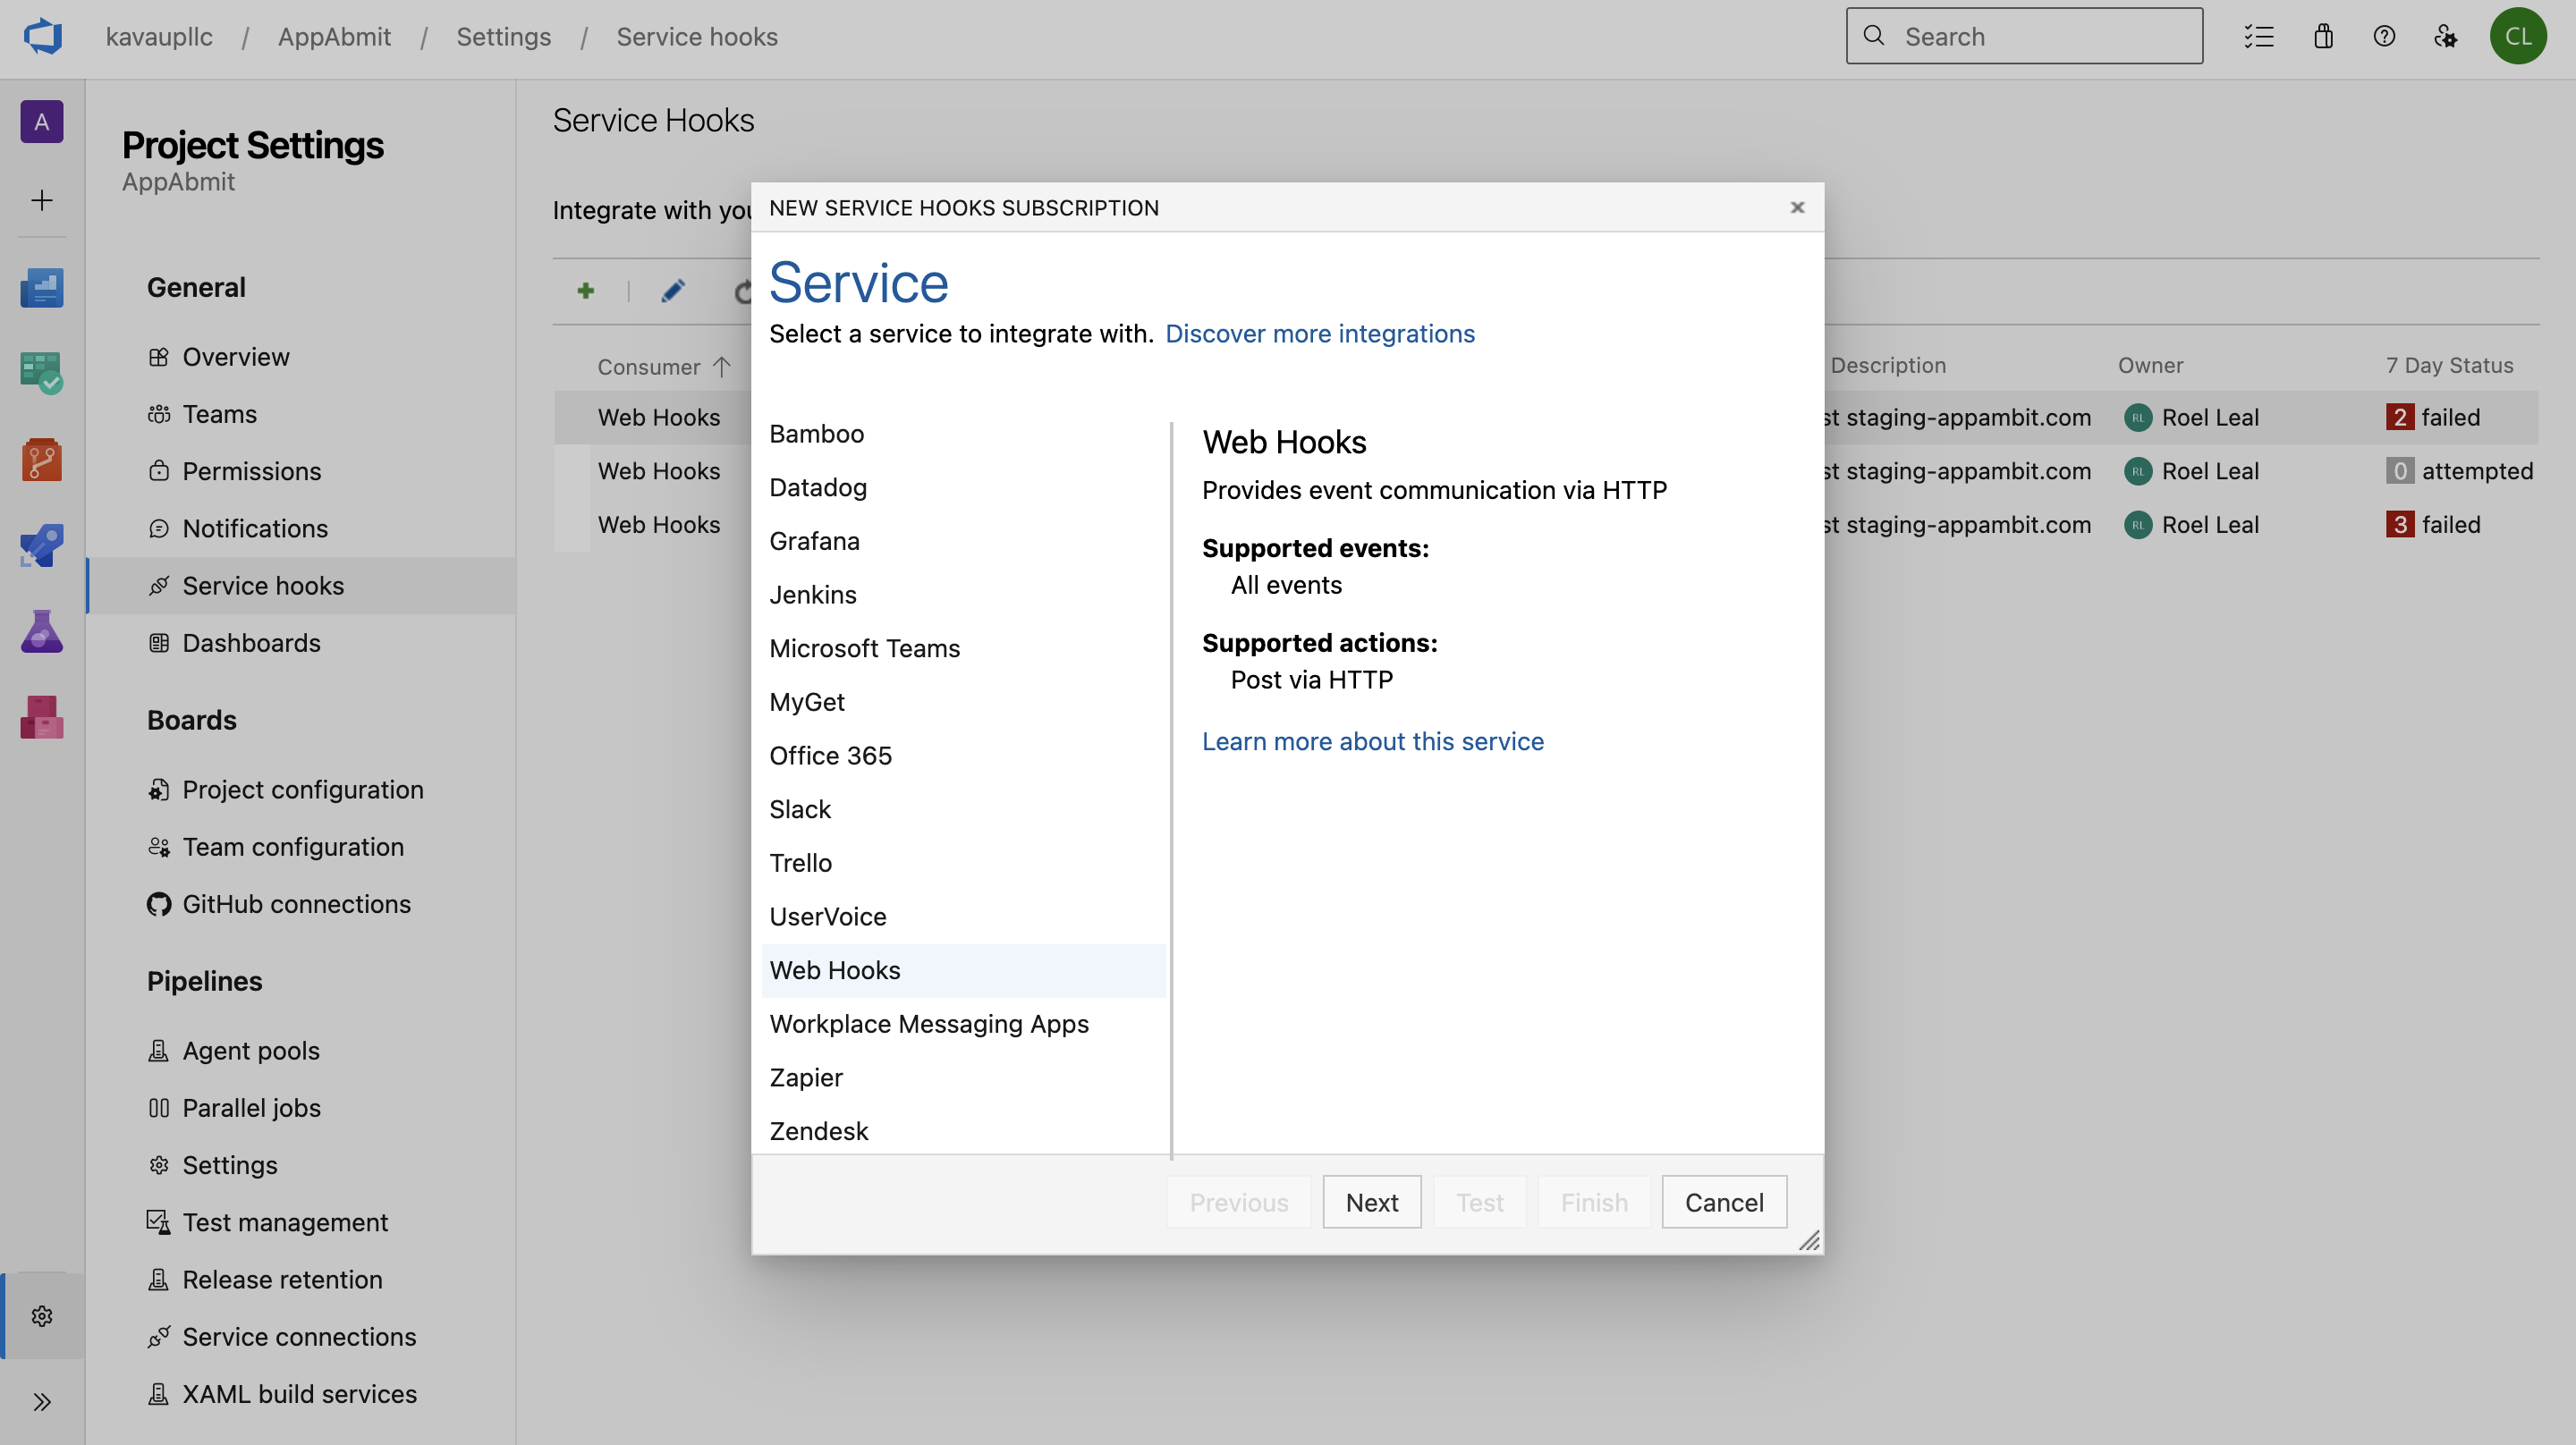
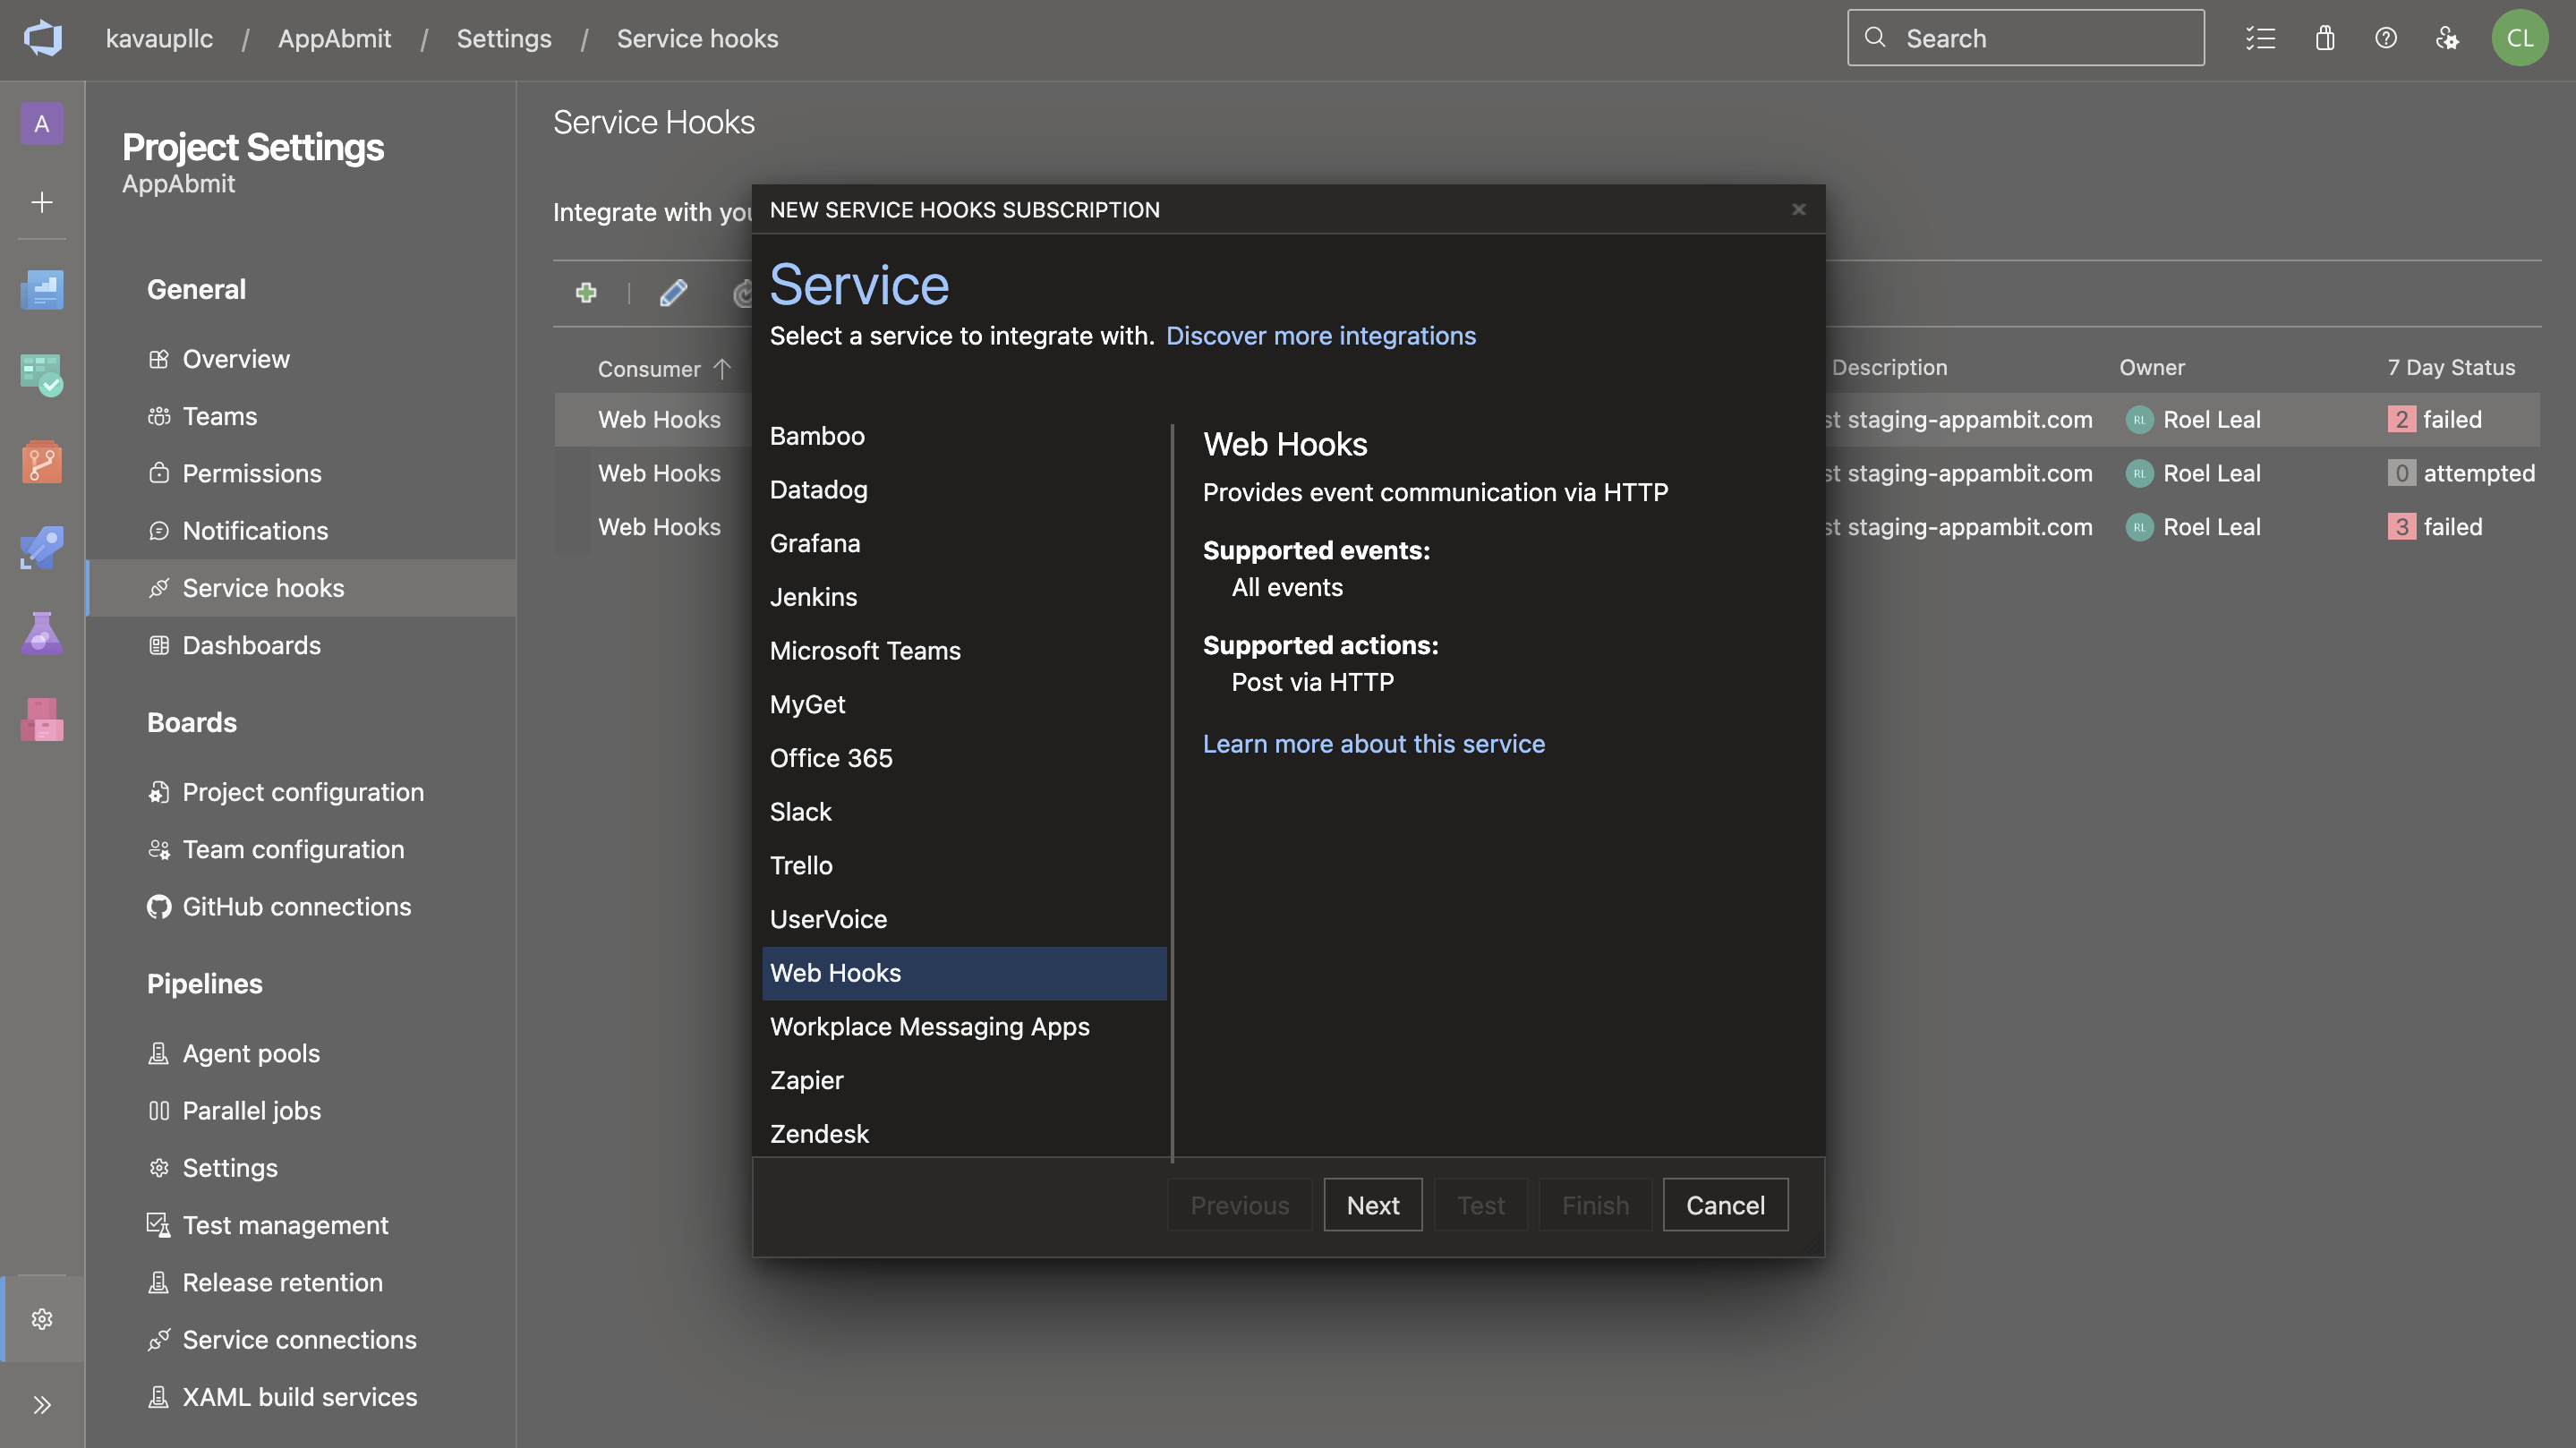
Select Web Hooks as the service and click Next.
-
For the trigger event, select Build completed from the dropdown menu and click Next.
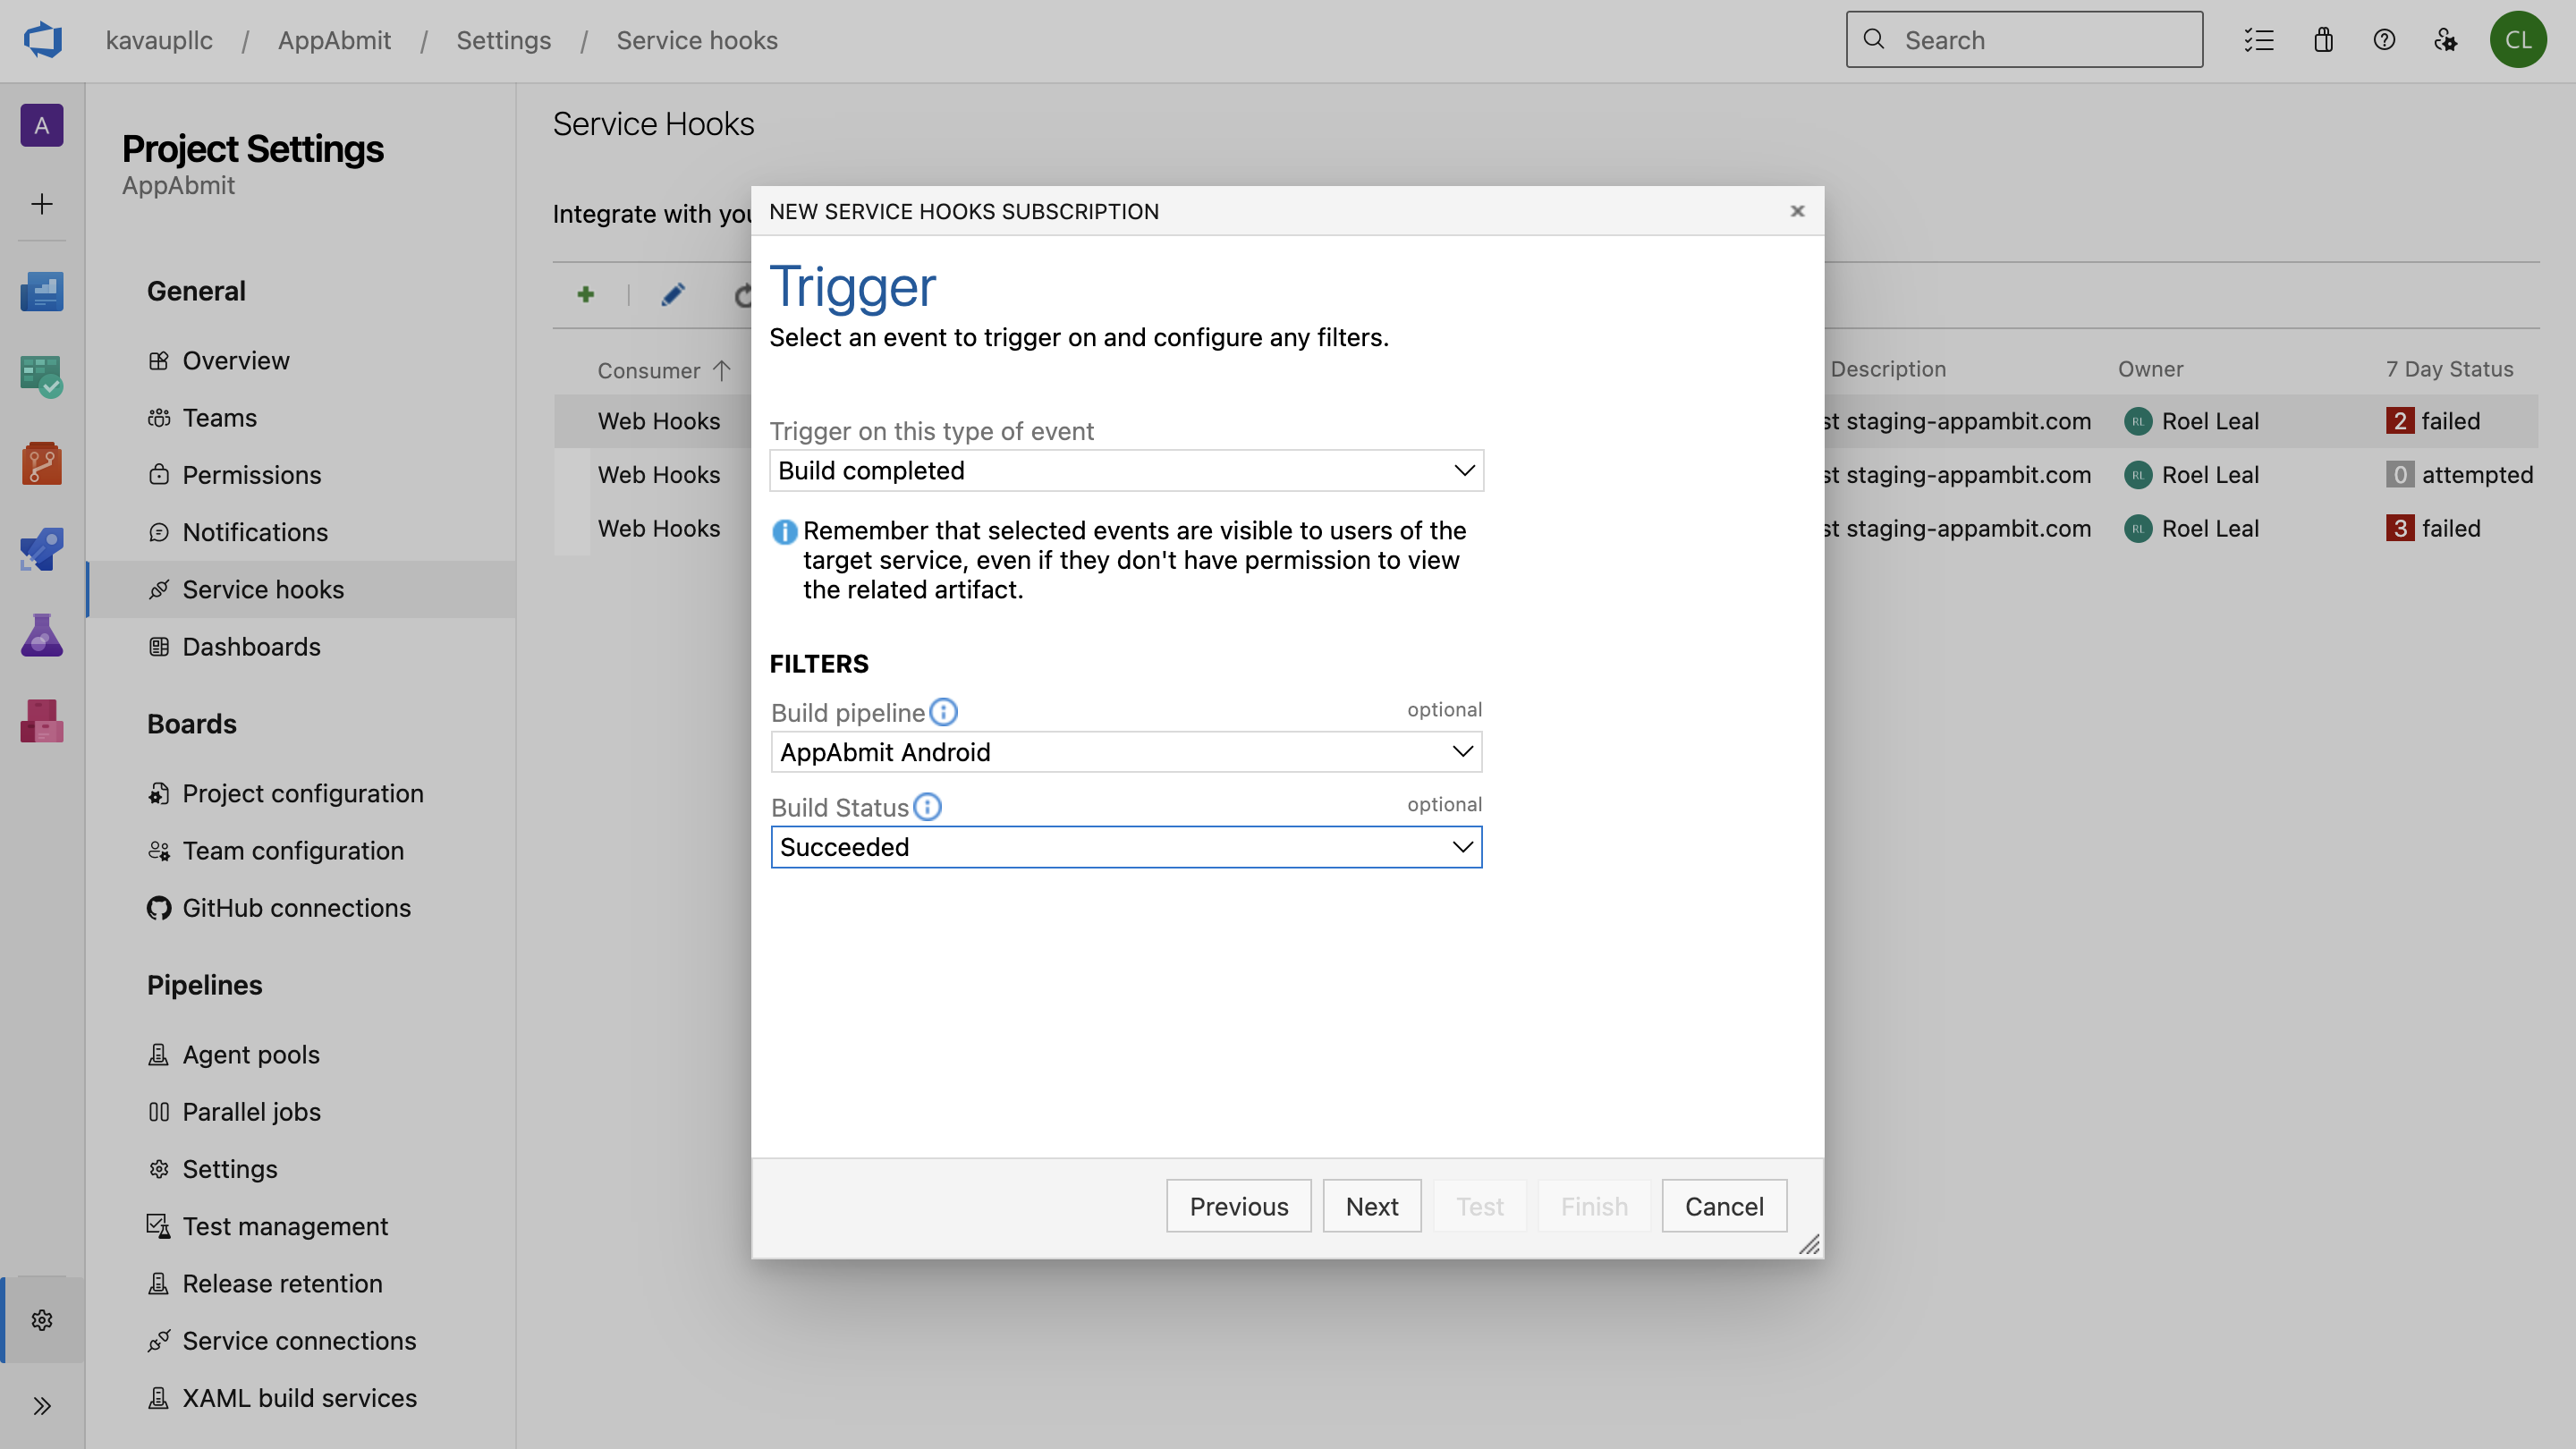
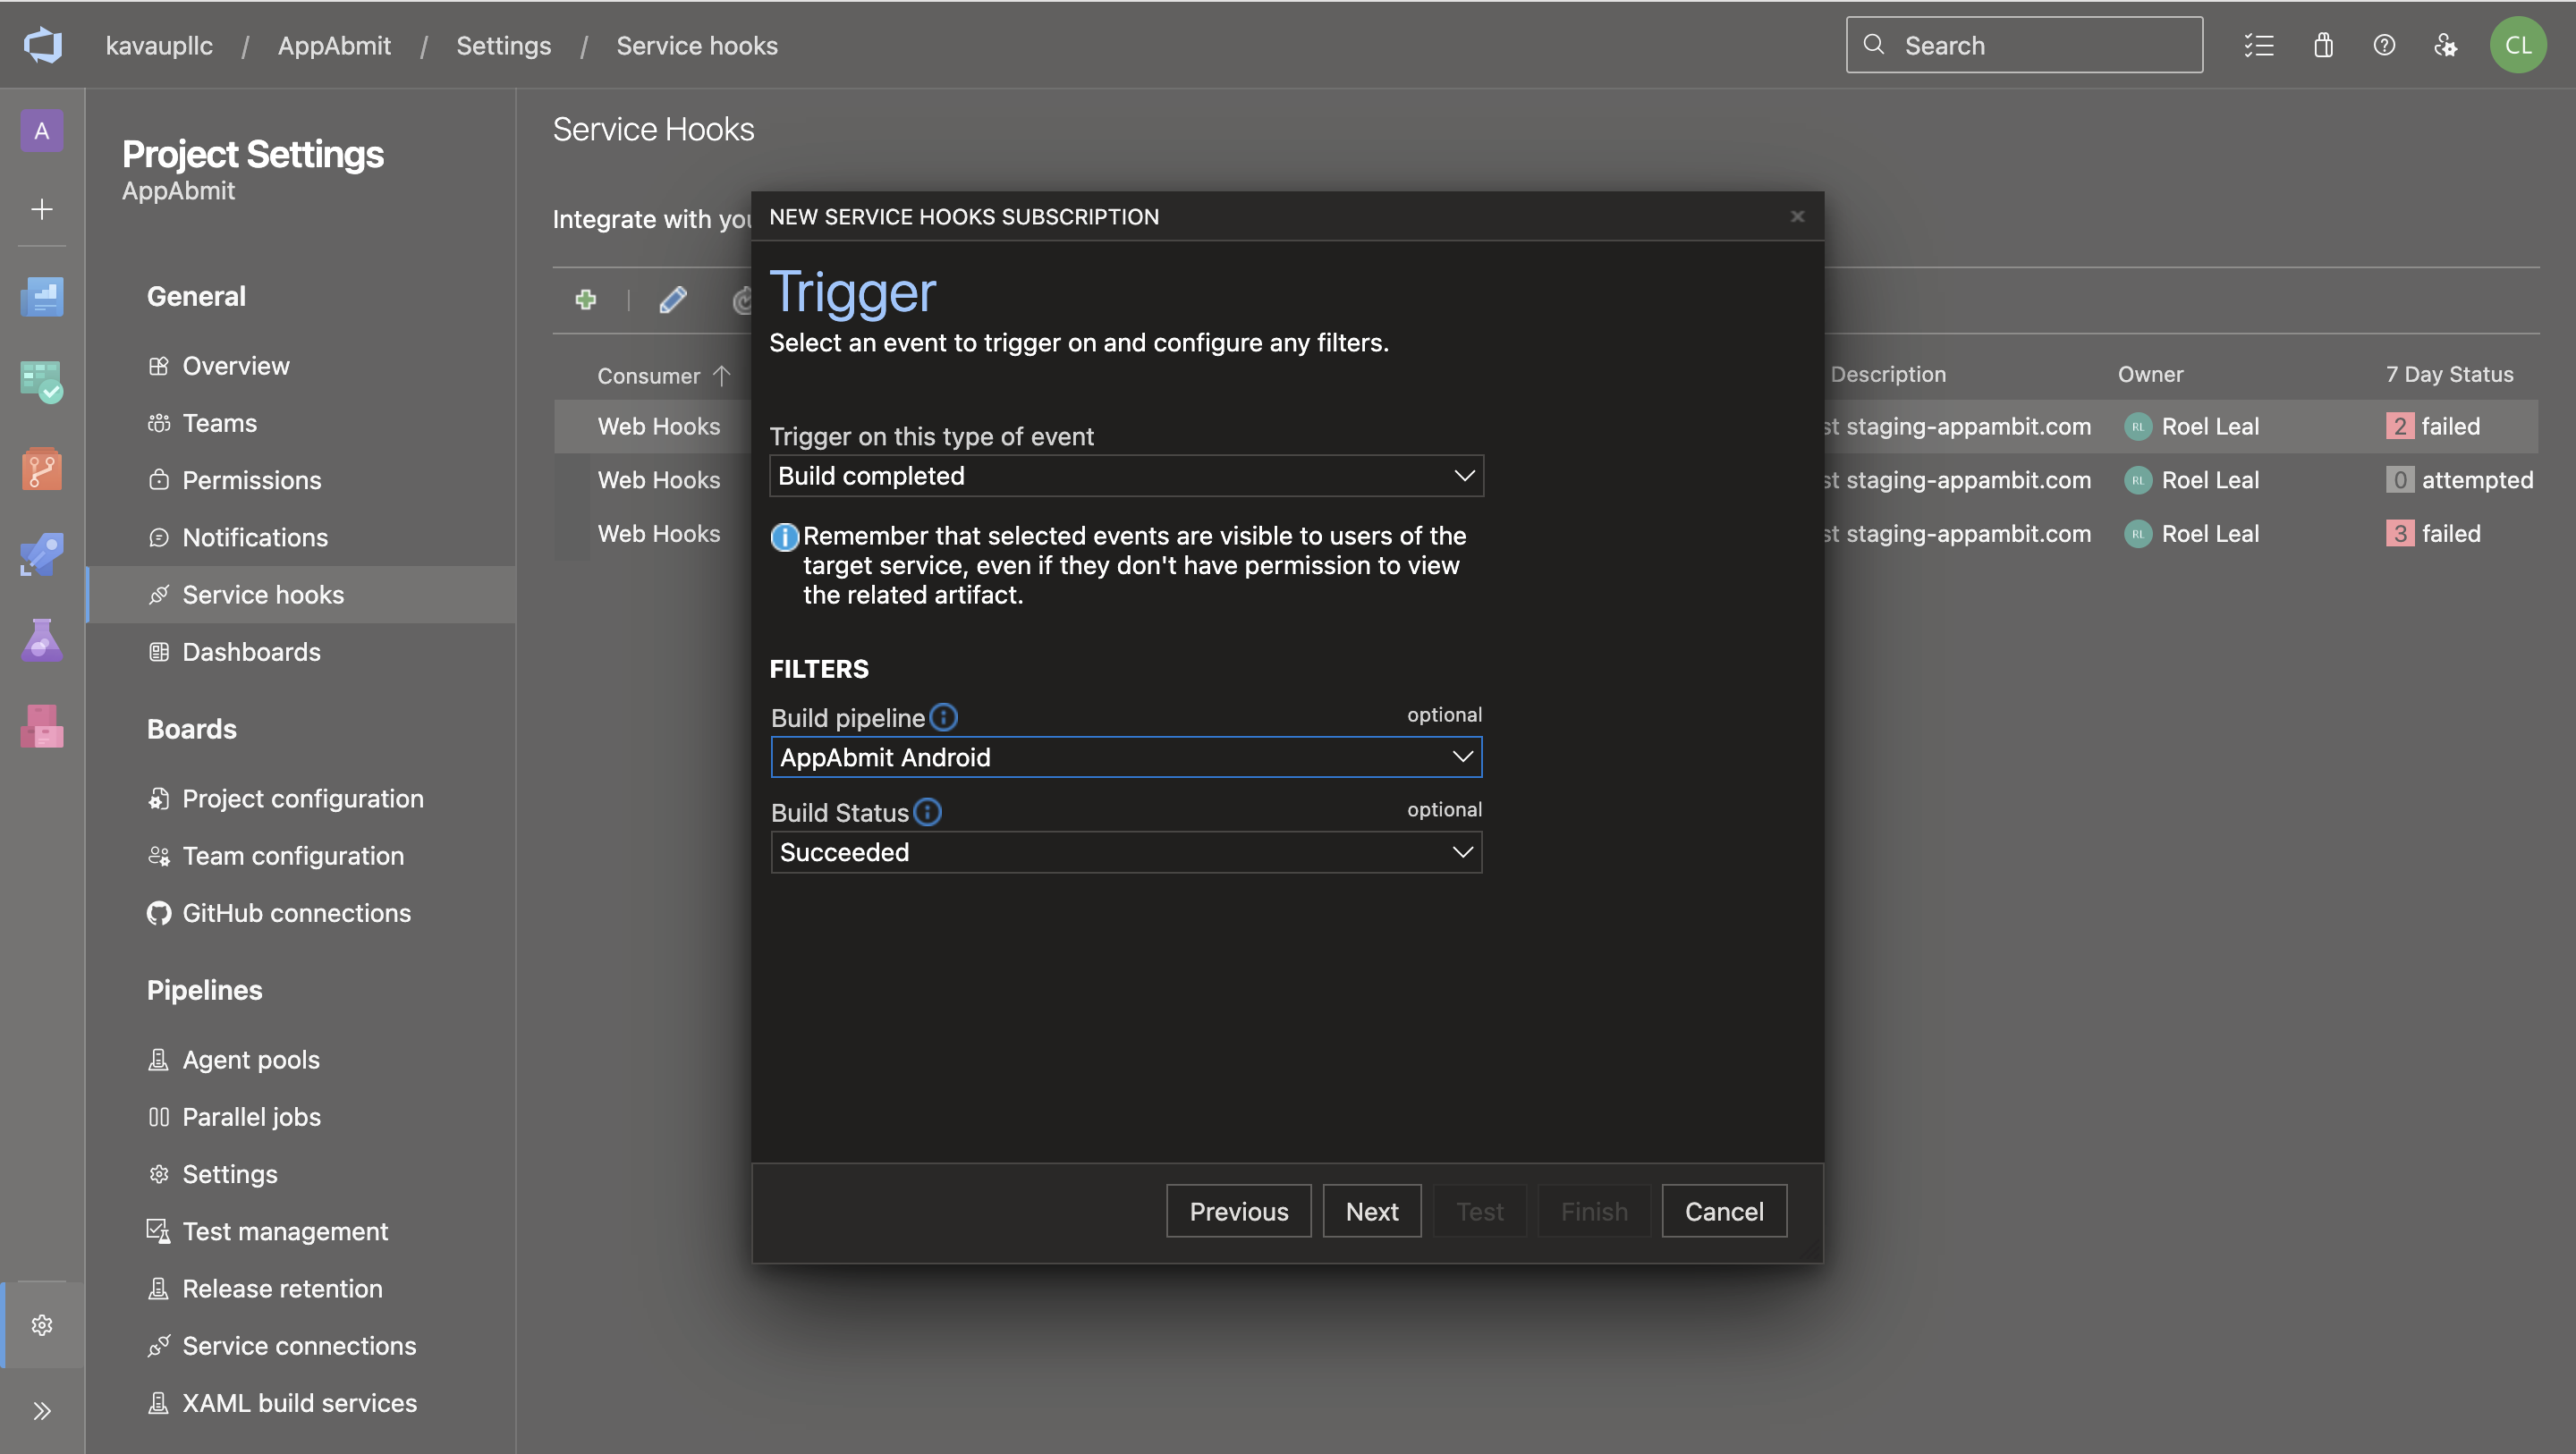
-
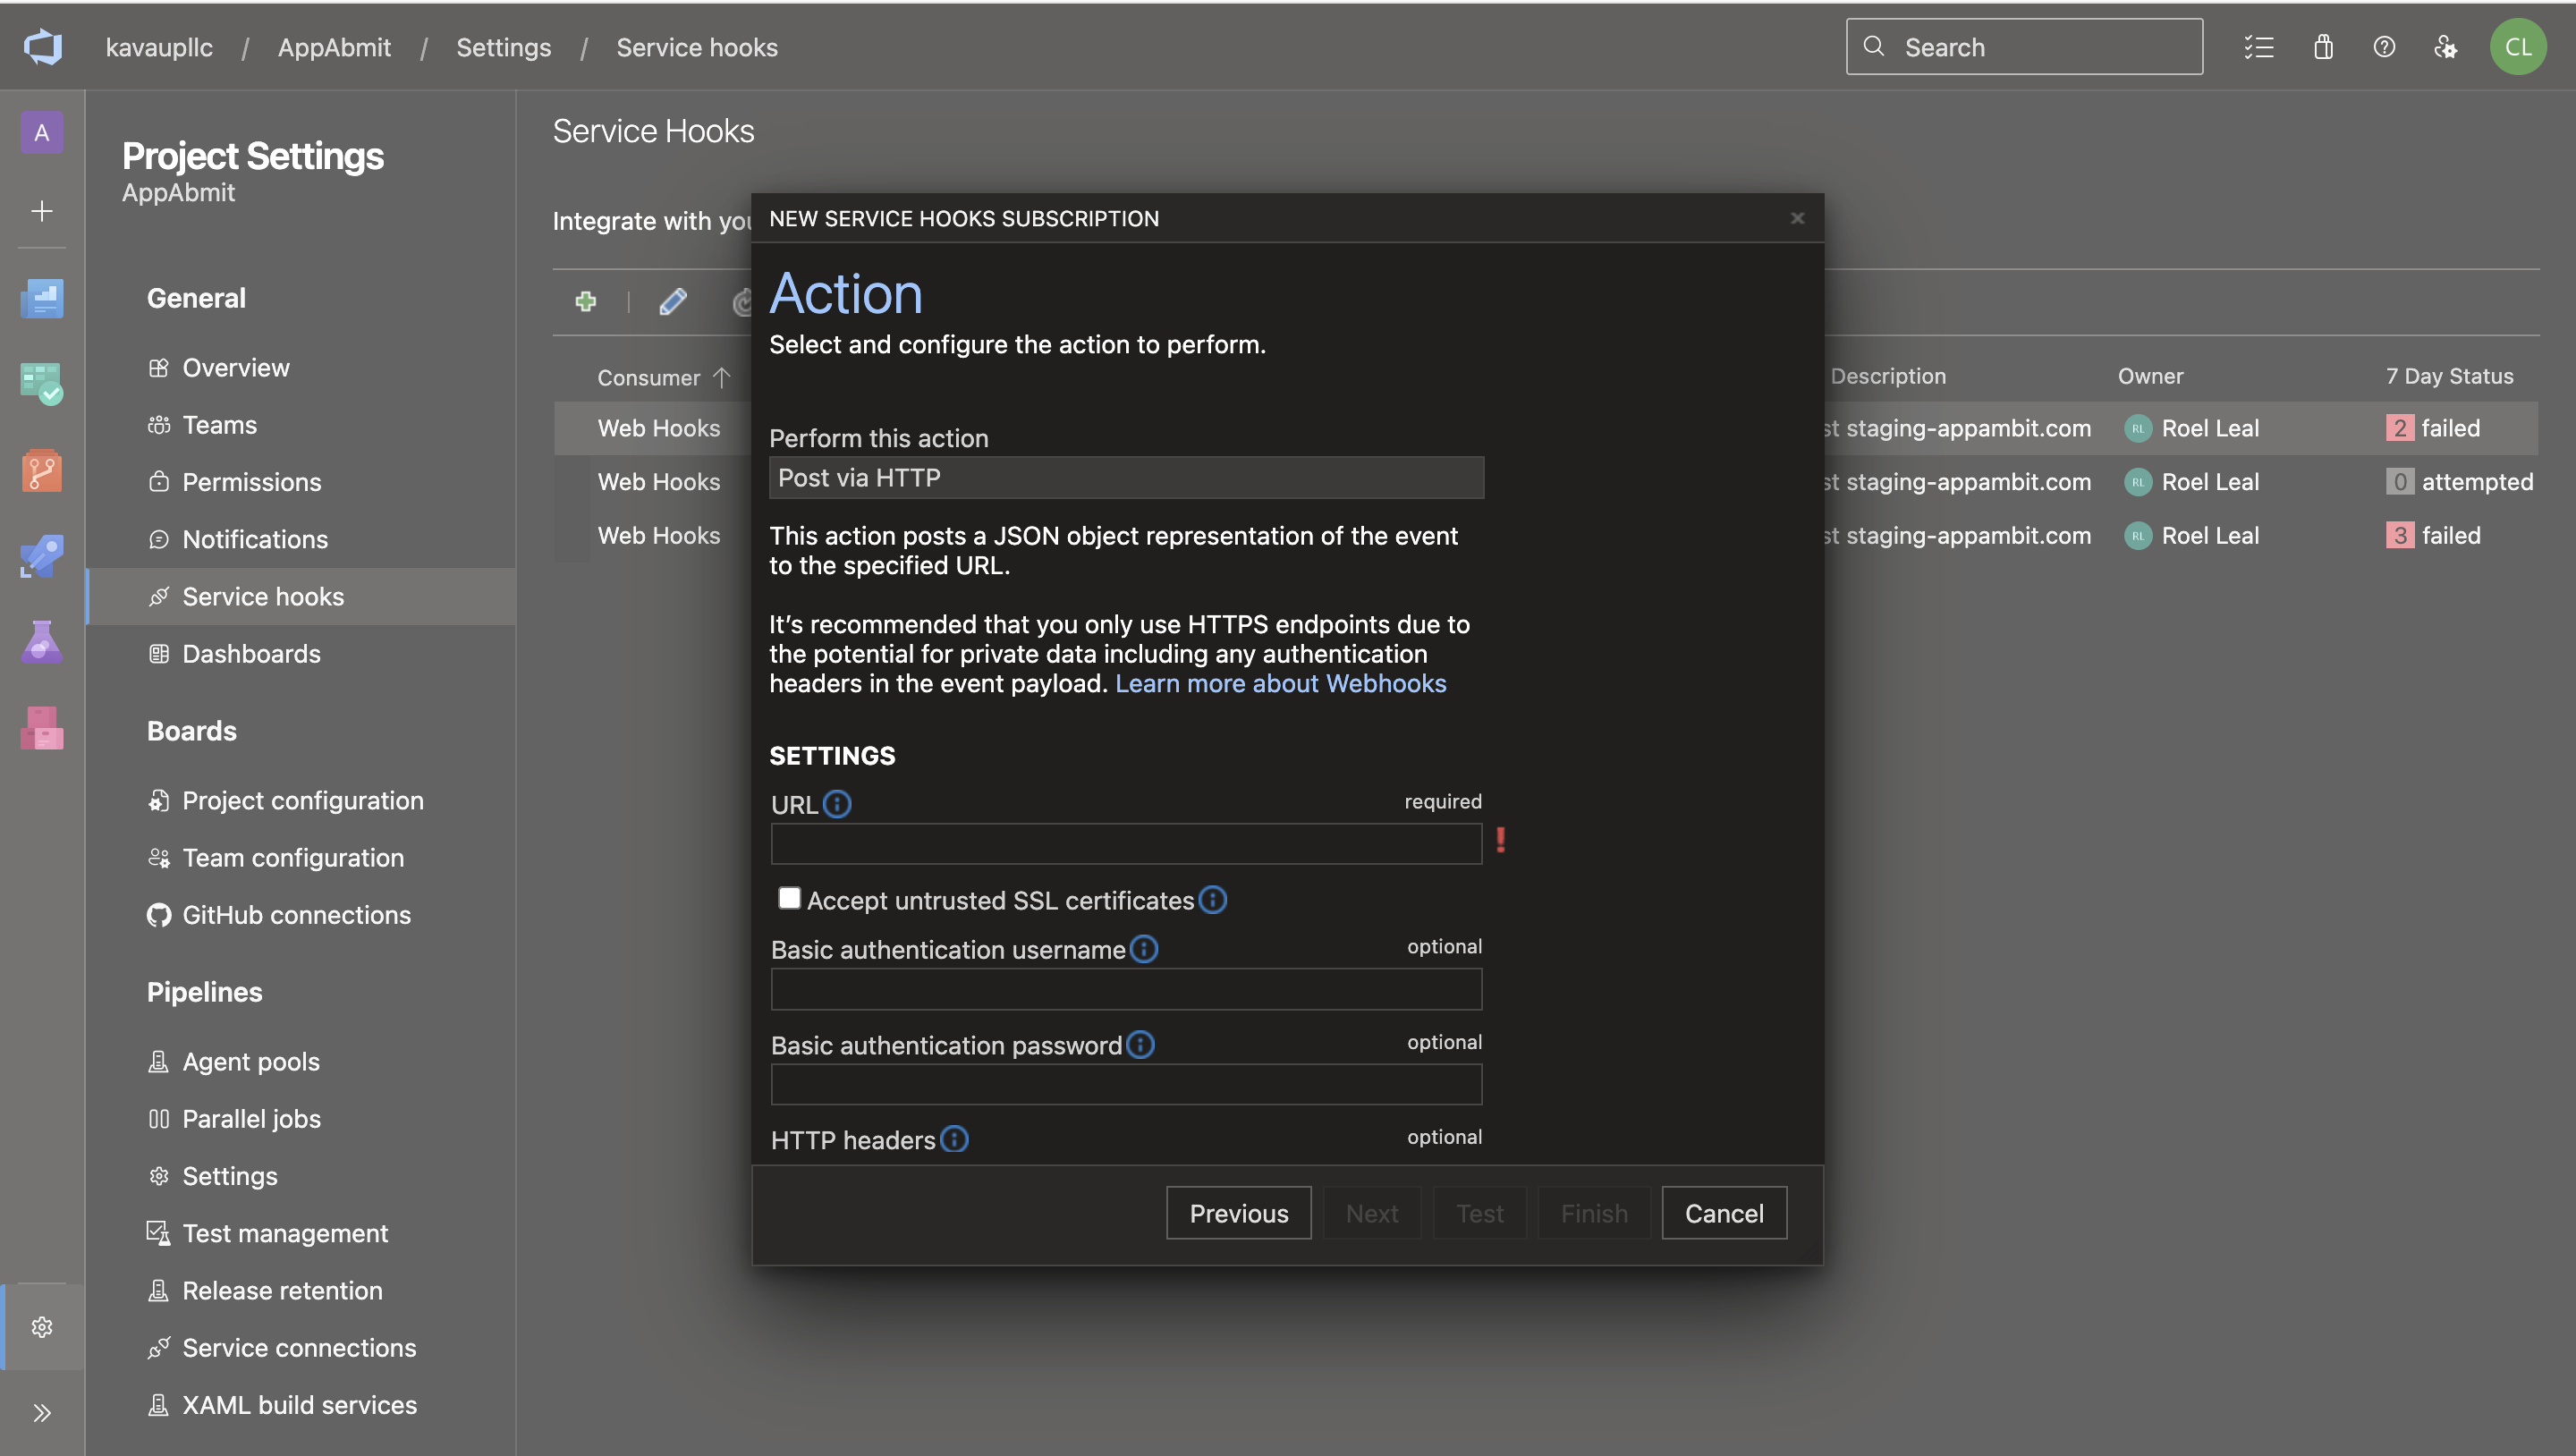
In the "Action" settings, fill in the details:
-
URL: Your dashboard's webhook endpoint.
https://staging-appambit.com/azure/webhook/YOUR_APP_KEY_HERE -
HTTP headers: Leave blank.
- Basic authentication username: Enter the email address of the user associated with this App in the AppAmbit Dashboard.
- Basic authentication password: Paste the
Webhook Secret. For instructions, see the Securing Your Webhooks section in our overview guide.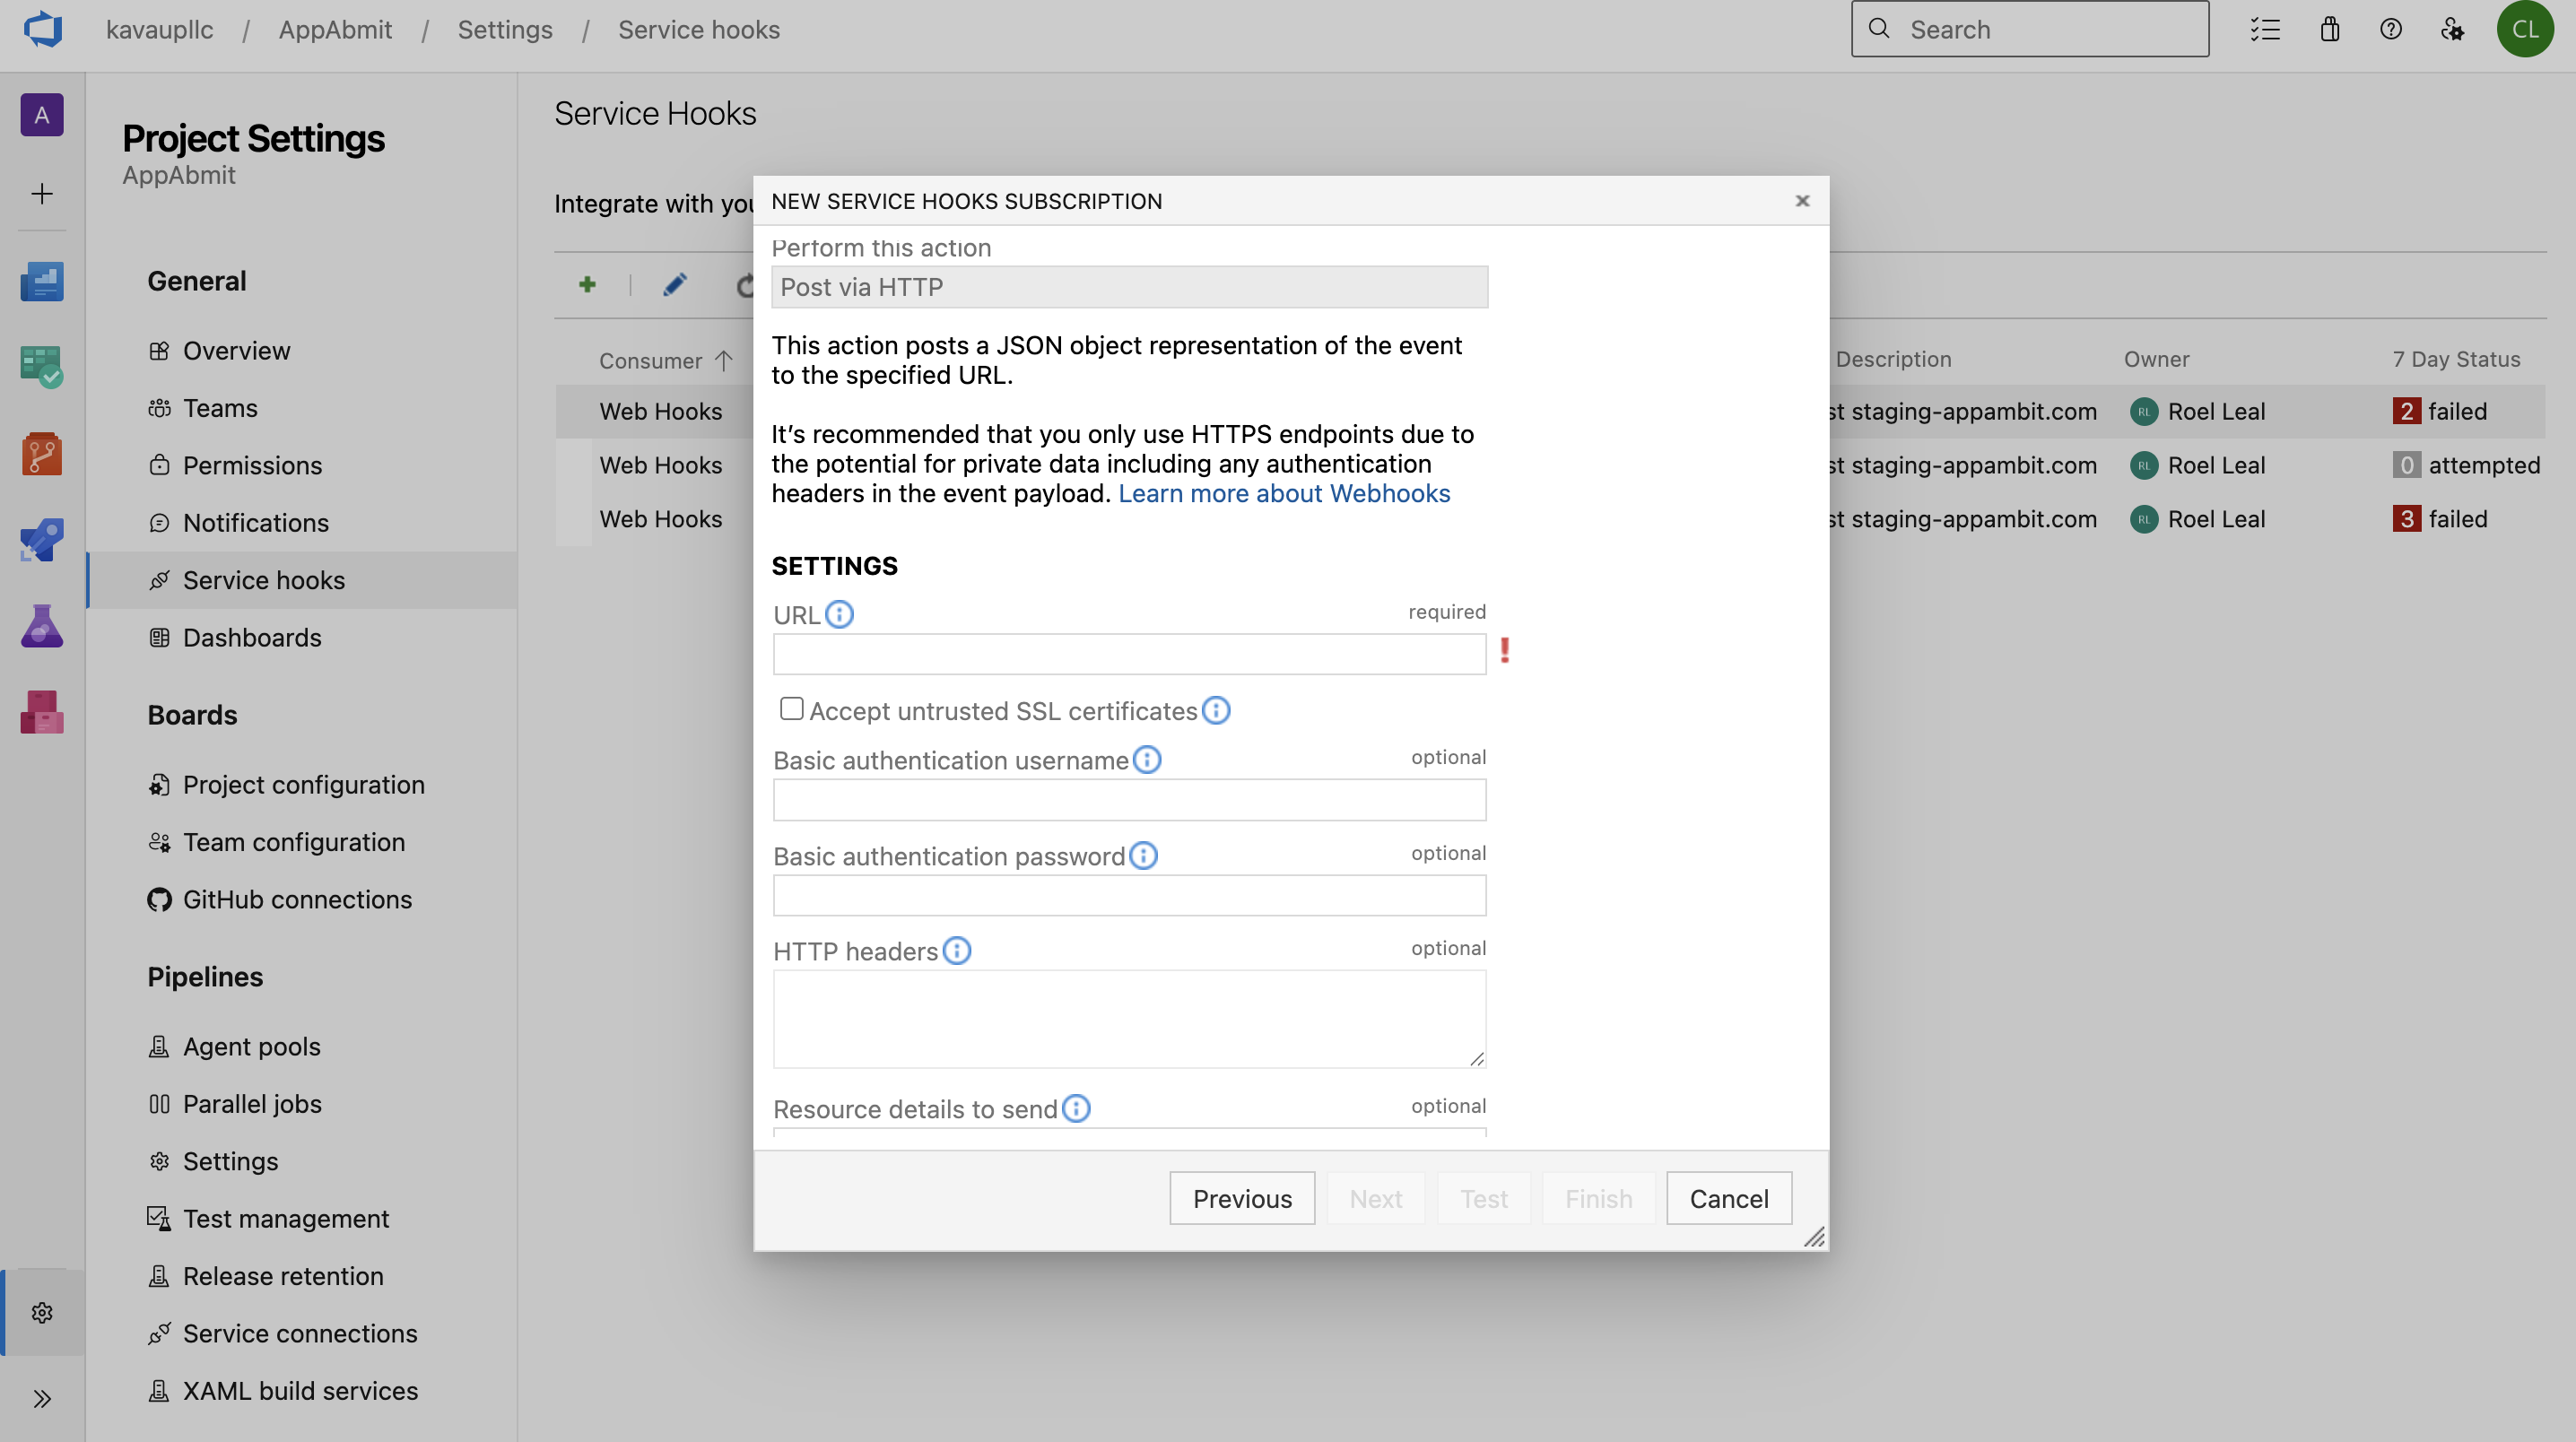
-
-
Click Test to verify the connection, then click Finish.
Step 3: Configure AppAmbit Dashboard
The final step is to provide your repository details and the PAT to the dashboard.
- Navigate to your App's Edit view in the AppAmbit Dashboard.
- Locate the App Release section.
- Fill in the following fields:
- Repo name: Enter your Azure DevOps repository name in the format
ProjectName.- Tip, you can find it in your Azure repository URL.
- Delivery token: Paste the Personal Access Token (PAT) you created in Step 1.
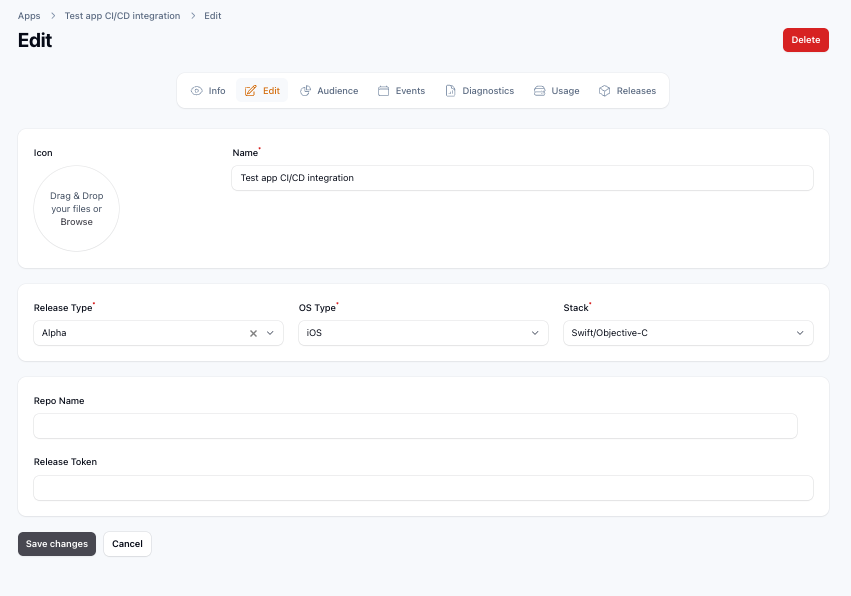
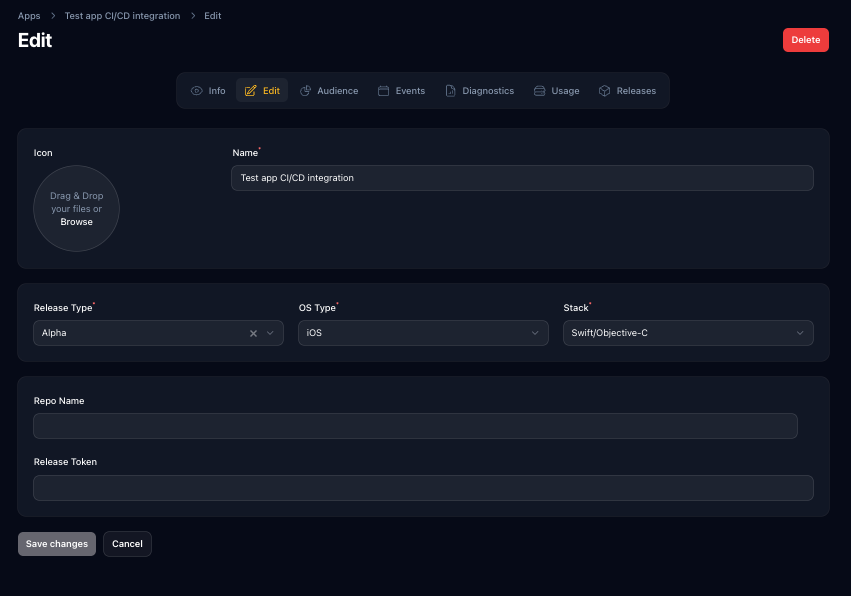
- Repo name: Enter your Azure DevOps repository name in the format
- Click Save changes.
Configuration Complete!
Your Azure DevOps repository is now fully integrated. From now on, successful pipeline runs will automatically appear in your Releases Section.
Troubleshooting
- Ensure the webhook URL and secret are correct.
- Verify workflow artifacts are generated as expected.
- Check permissions for the Personal Access Token.
- Review Azure Pipelines (Webhooks) logs for errors.